Welcome to Week 2 of Baby-Led Weaning meal ideas! If you’re just starting this journey with your little one, I recommend checking out my earlier posts first—our Introduction to BLW and Week 1 BLW meal ideas. They’ll give you a good foundation on what BLW is, how we started, and some easy first food ideas.
This week, I’m sharing another set of simple, nourishing, and baby-friendly meals. Each day features a new idea to help you introduce different flavors and textures to your baby. I like focusing on variety here to give you fresh inspiration—both in terms of new foods and different ways to serve the same food. But in reality, I repeat meals often, and that’s completely okay. You can always bring back meals from Week 1 or even serve the same food for two days when life gets busy. I do it all the time!
Other Posts from Starting Solids Series-
Whether you’re looking for inspiration, reassurance, or just easy recipes to try, I hope these ideas help make your BLW journey smoother and more fun.
6 Month Baby-Led Weaning Meal Ideas Week 2
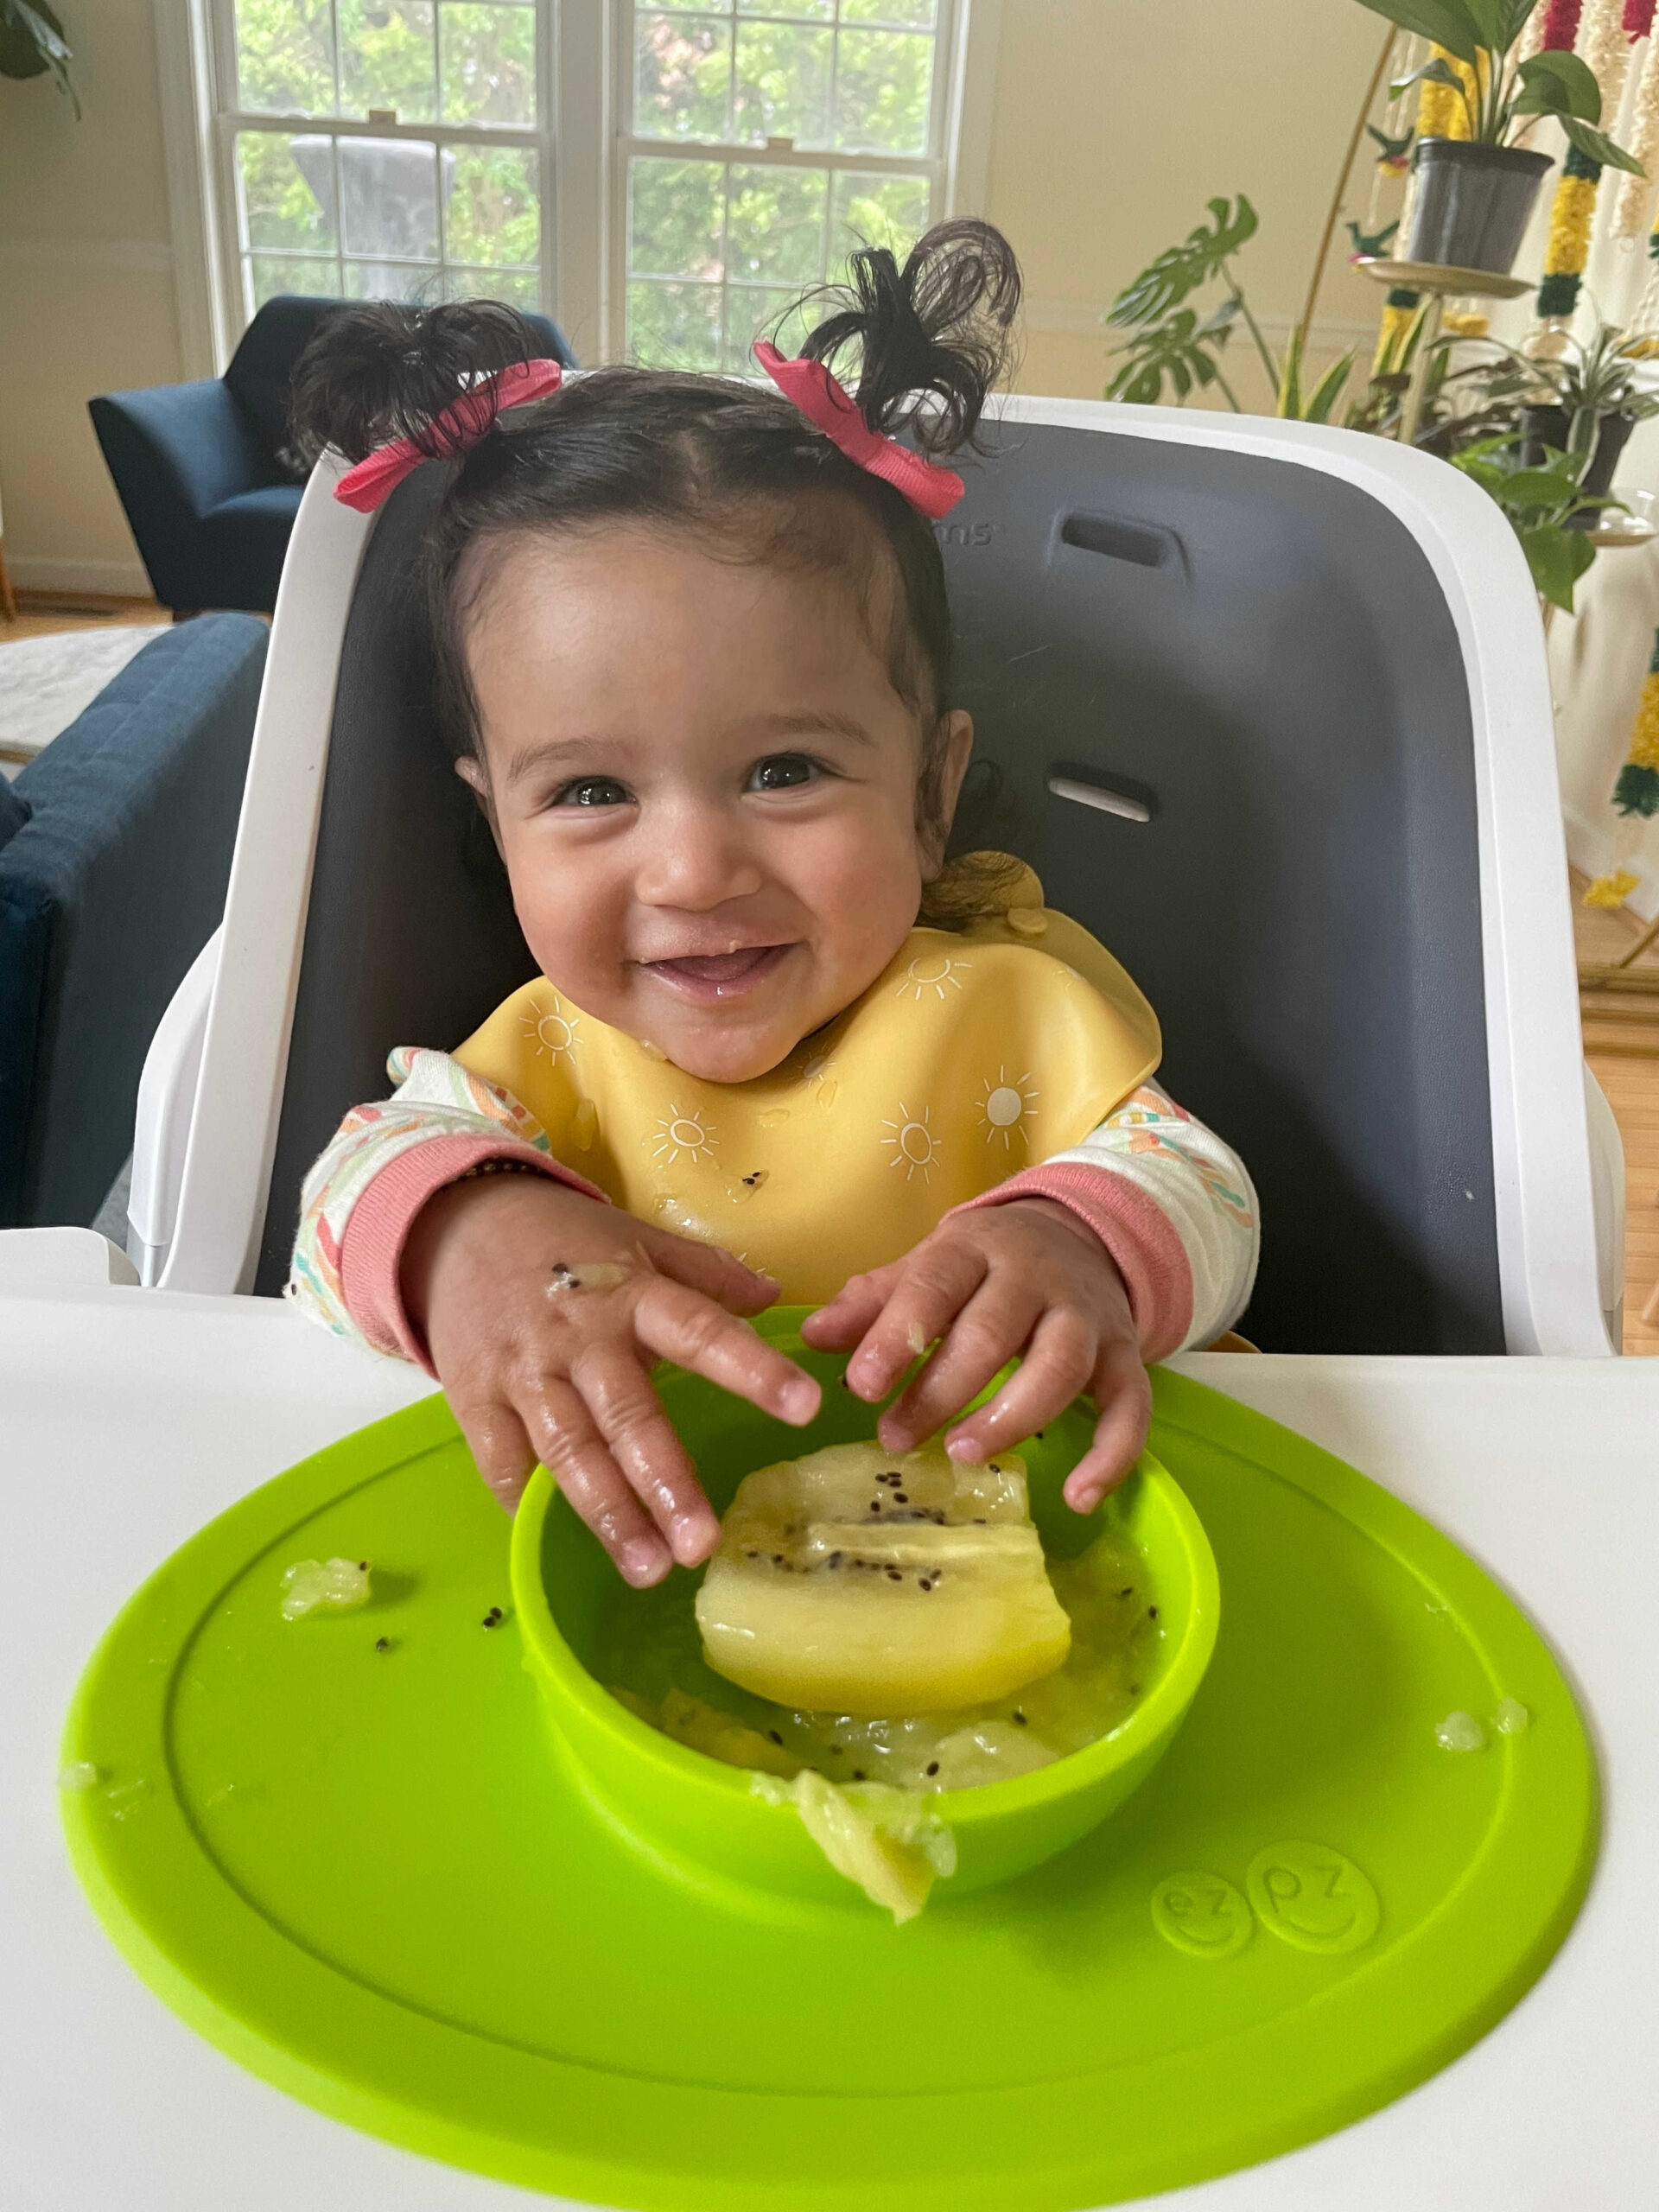
Day 1 – Golden Kiwi
Golden kiwi is packed with vitamin C and makes an excellent first food for babies. It pairs especially well with iron-rich foods like the Ragi malt or oatmeal, since vitamin C helps boost iron absorption. Its naturally tender and juicy texture makes it easy for babies to grasp and enjoy.
How I Offered It
It’s such an easy food to offer since no cooking is needed. I simply peeled the kiwi, cut it vertically into two halves, and gave one half to my baby. Because it’s so soft, she couldn’t hold it for long, so I eventually scooped some onto a spoon and handed it to her. She absolutely enjoyed it.
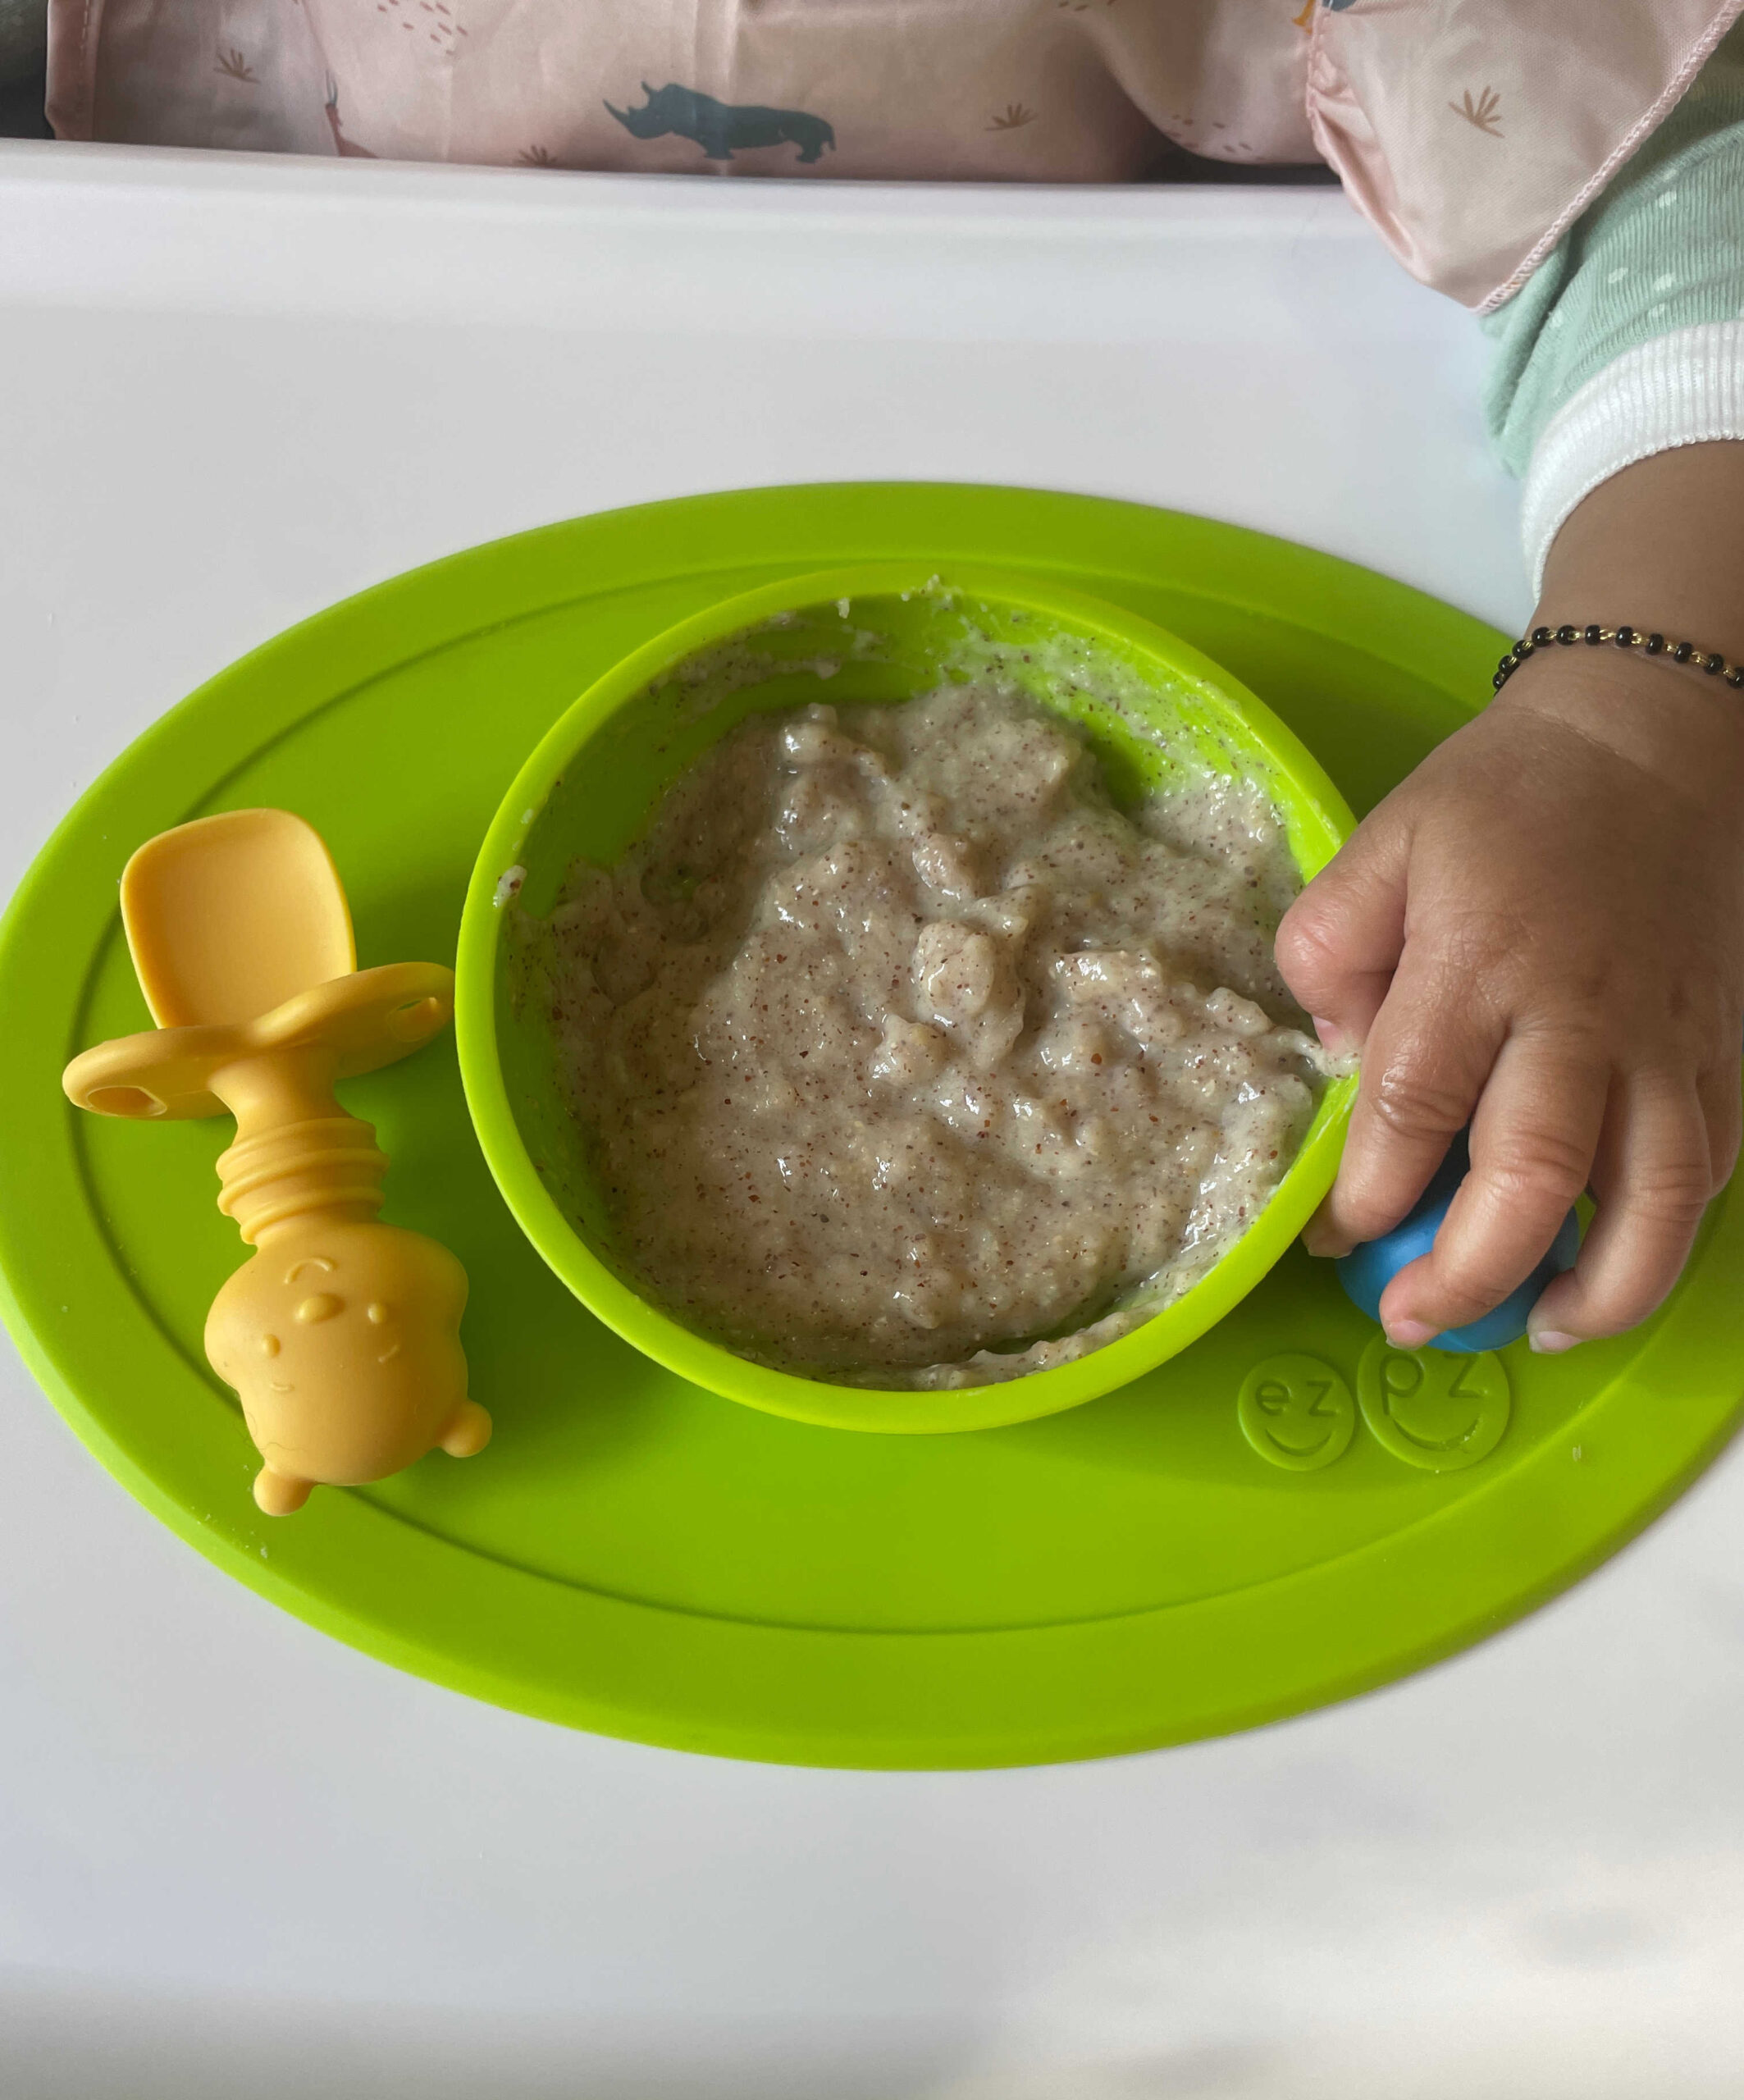
Day 2 – Ragi Java / Malt (First Grain)
Ragi malt is one of the most nourishing first foods you can introduce to your baby. It’s made with Ragi (finger millet), which is rich in calcium, iron, and fiber. It supports healthy bone development. It’s the first grain I introduced to both my kids.
How To Make Ragi Malt For Babies
Ingredients:
- 11/2 tablespoons of ragi flour (preferably sprouted ragi flour if you are getting it from India)
- 3/4 -1 cup water
- 1/2 tbsp of curd/yogurt
Instructions:
- In a saucepan, combine the ragi flour with a little water and whisk until it’s lump-free. Add the remaining water and mix well. If time allows, let the mixture soak for about an hour or 2 for easy digestion.
- Place the pan on low to medium heat and cook the mixture, stirring continuously to avoid lumps.
- Continue stirring for 5–7 minutes, until the porridge thickens and takes on a glossy texture.
- Remove from the heat and allow it to cool. I like to leave it a little longer as the mixture will thicken as it cools.
- Just before serving, stir in the yogurt until well combined.
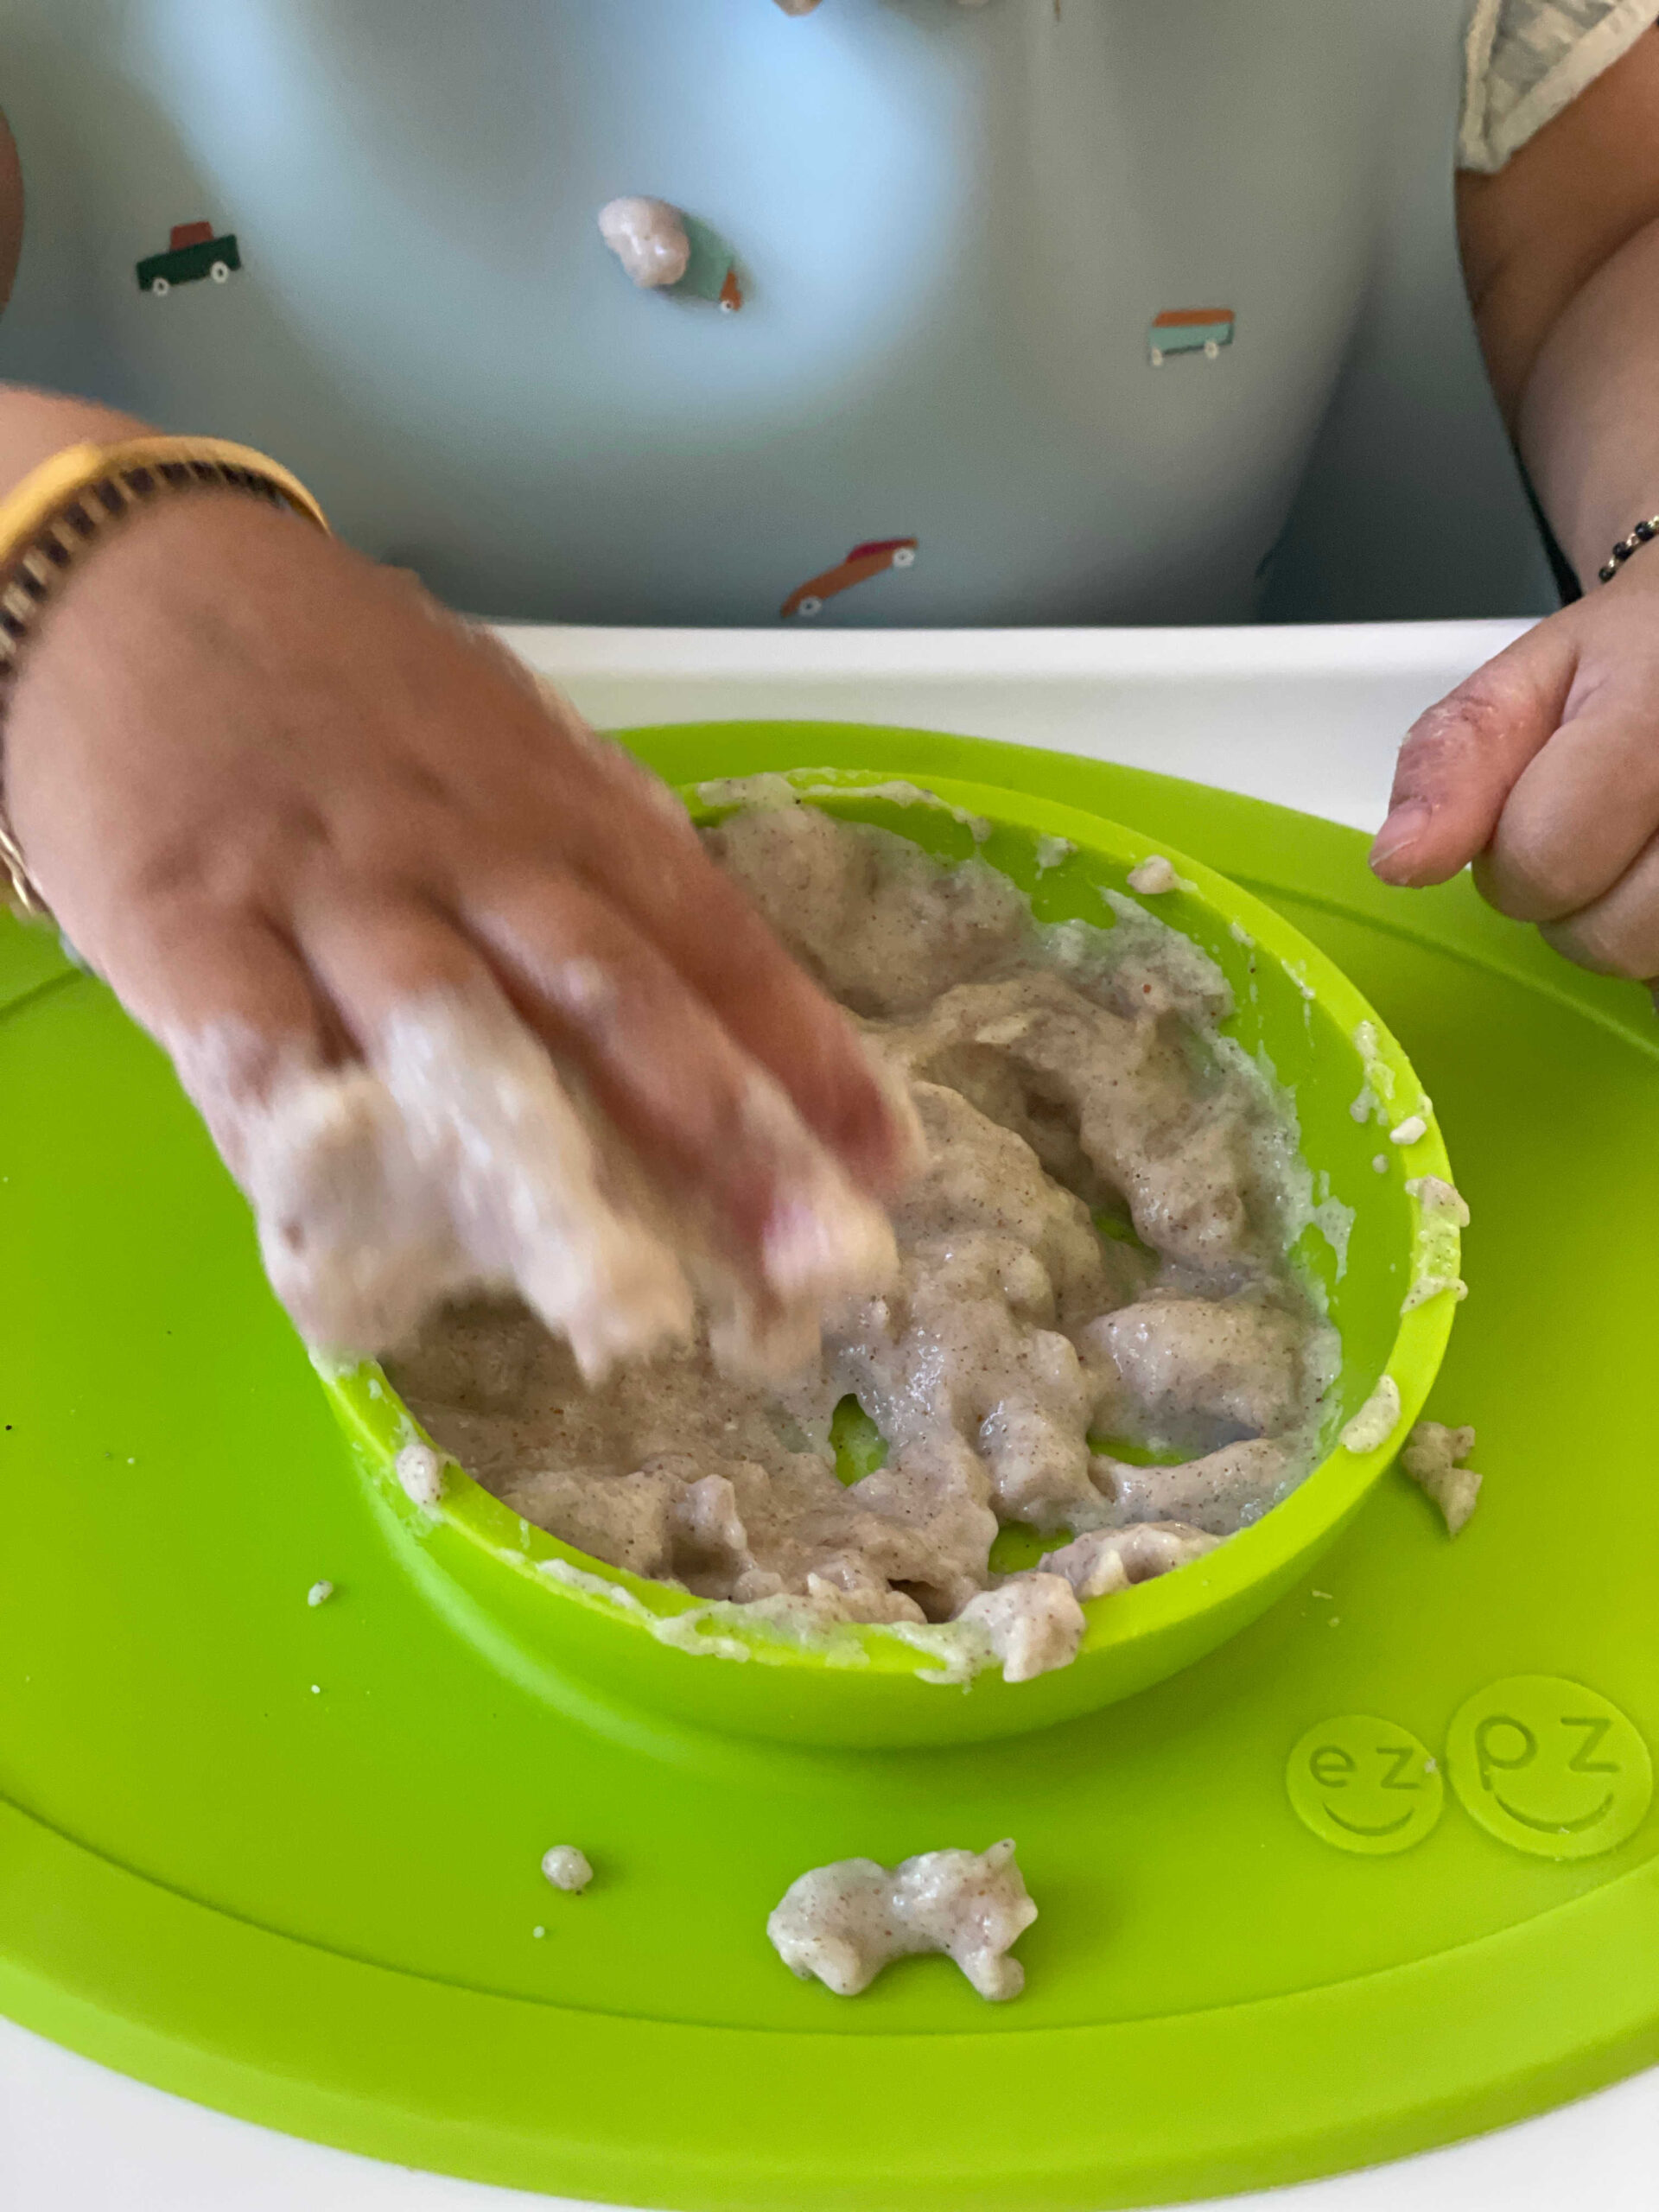
How I Offered It
Since ragi malt has a porridge-like consistency, I first offered it in a bowl to see if she would scoop it up with her hands—and she did a few times. Once she stopped eating, I preloaded some onto a spoon and handed it to her, which worked well too.
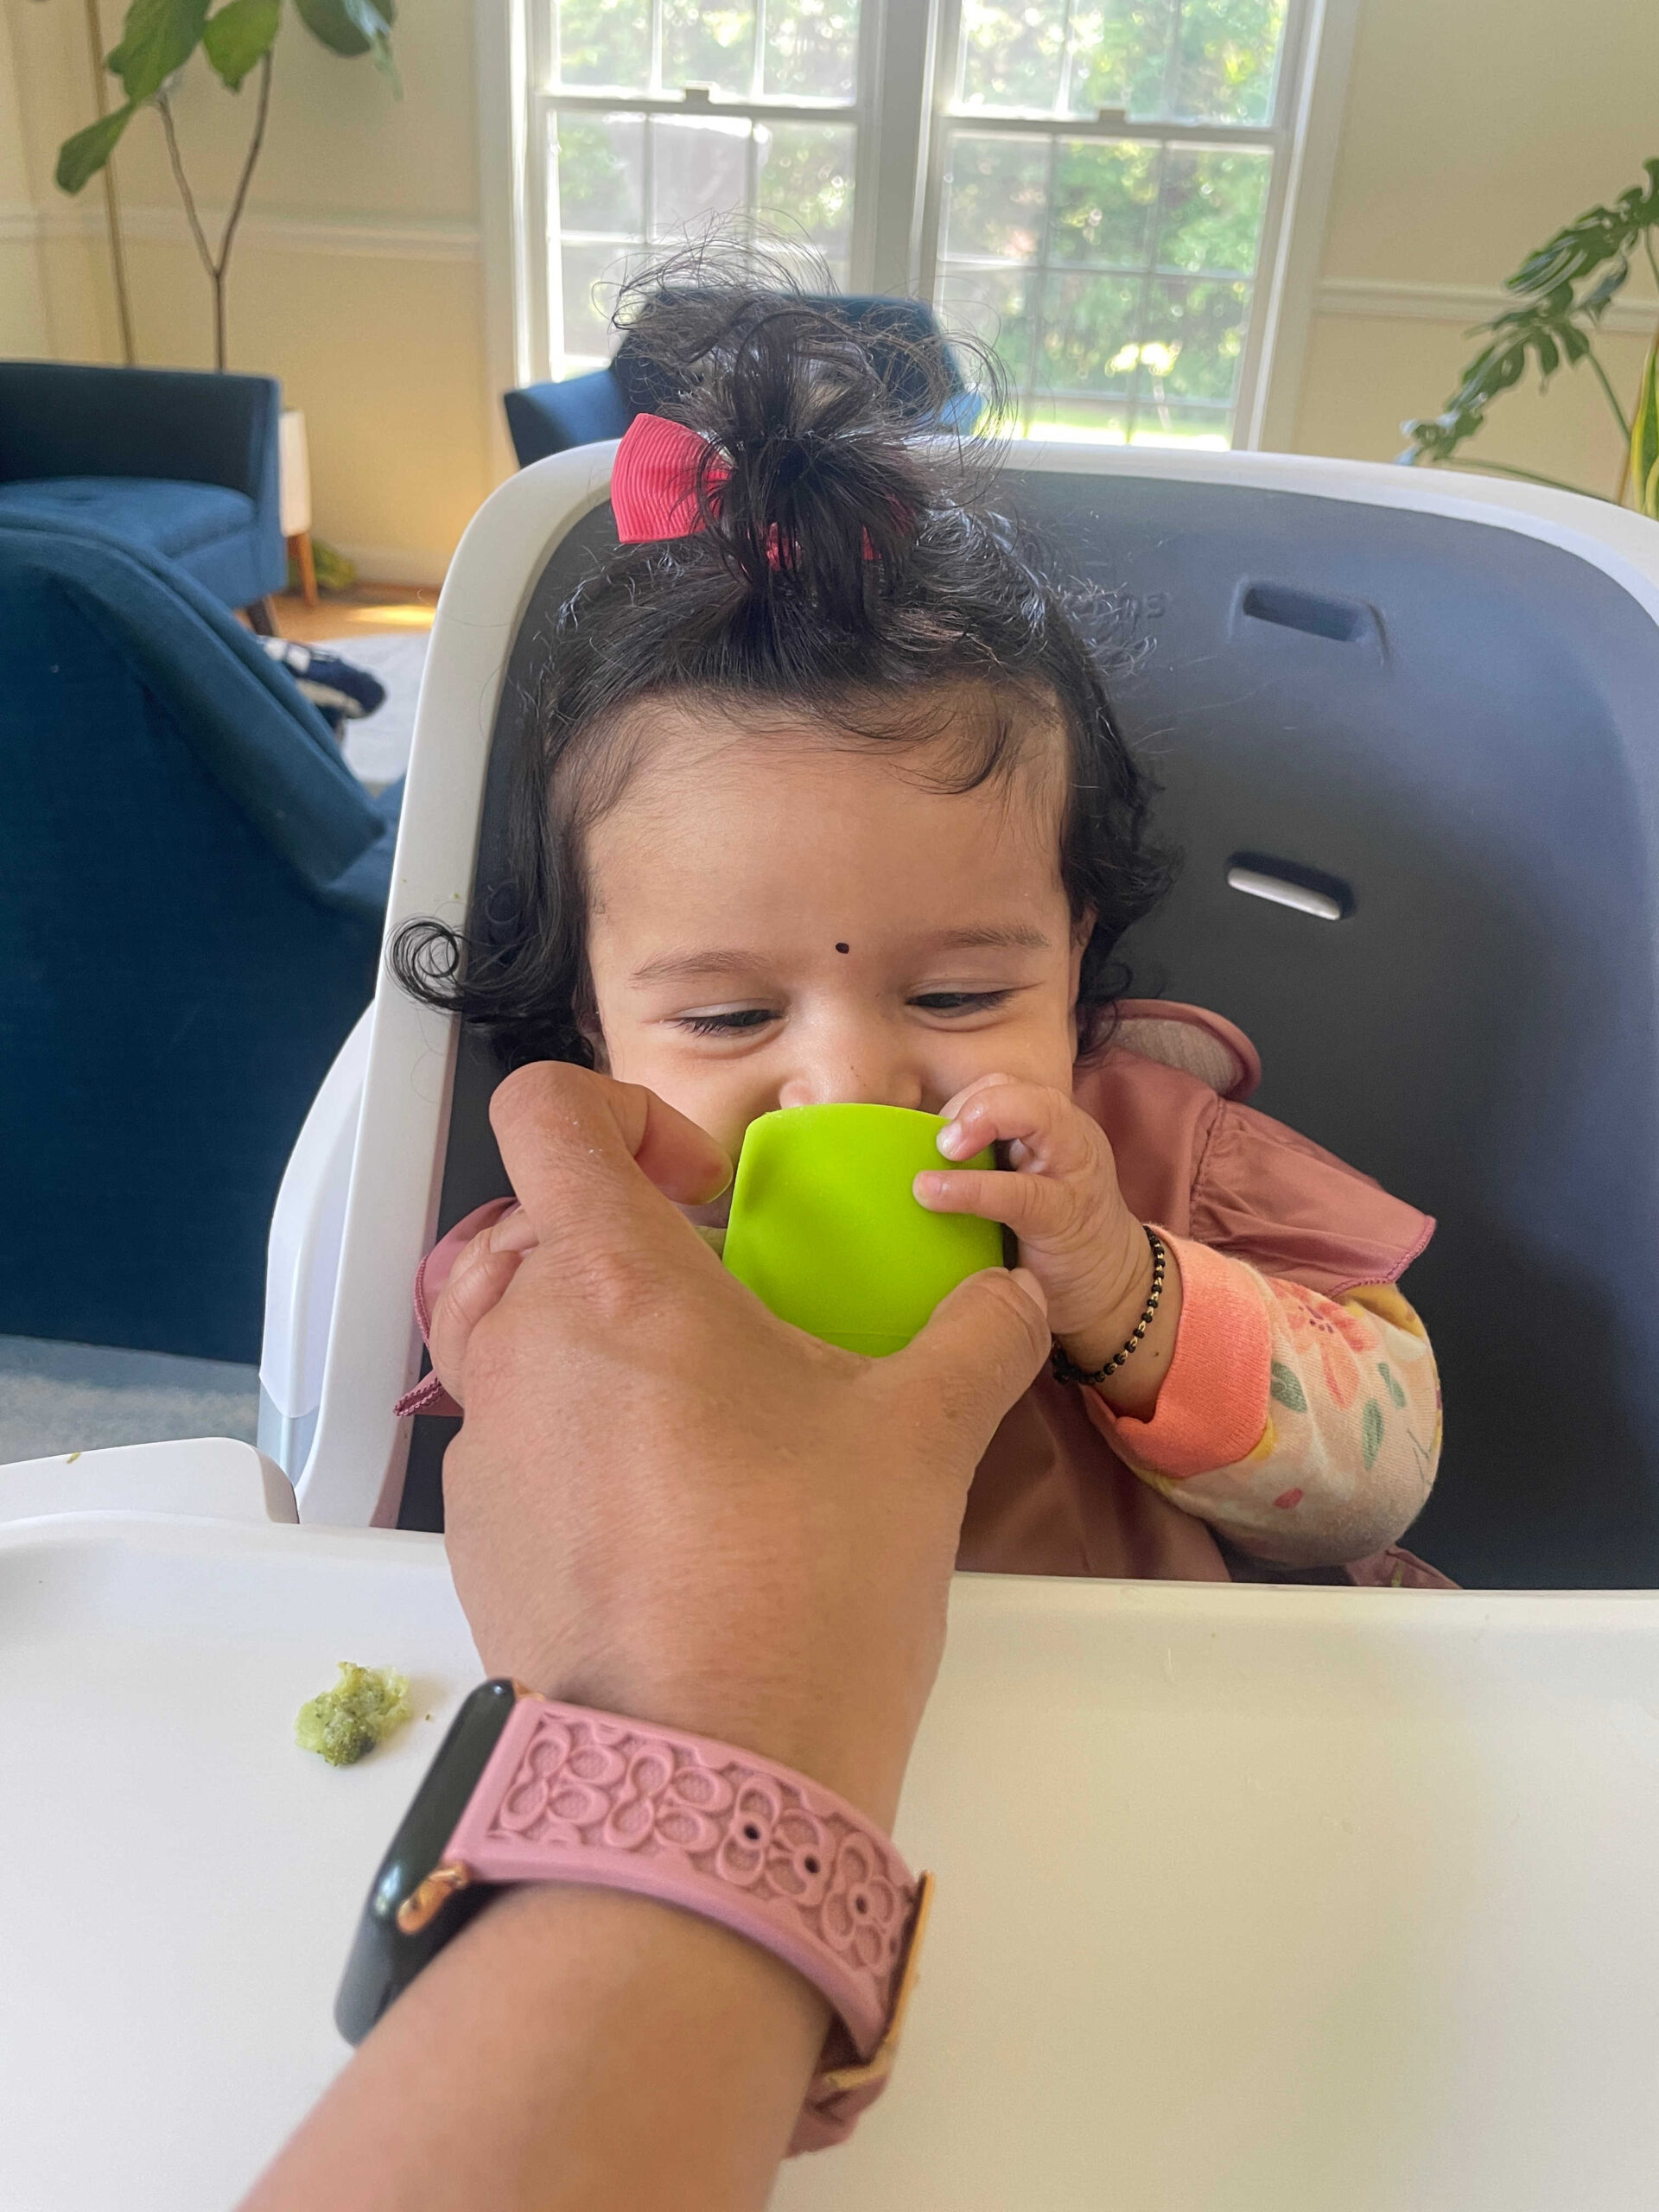
Introducing Water
When to Start
According to Solid Starts, babies can start small sips of water around 6 months, once they begin eating solids. Our pediatrician also said yes to giving a little water with food.
You can refer to this link to get an idea of how much to offer for the age
How I Offered It
I offered water in a small open cup—first by holding it for her, and eventually by letting her hold it herself. I only filled it with a little water at a time, which makes it easier for babies to manage and also less messy to clean up (since spills are inevitable until they learn to drink on their own!).
I only offer water after she’s done eating—that’s the only time she gets it. I actually introduced water in Week 1 because she showed so much interest whenever we drank. She would grab my water bottle and try to put her mouth on it! I planned to wait until 7 months, like I did with my son, but her eagerness made me start a little earlier this time.
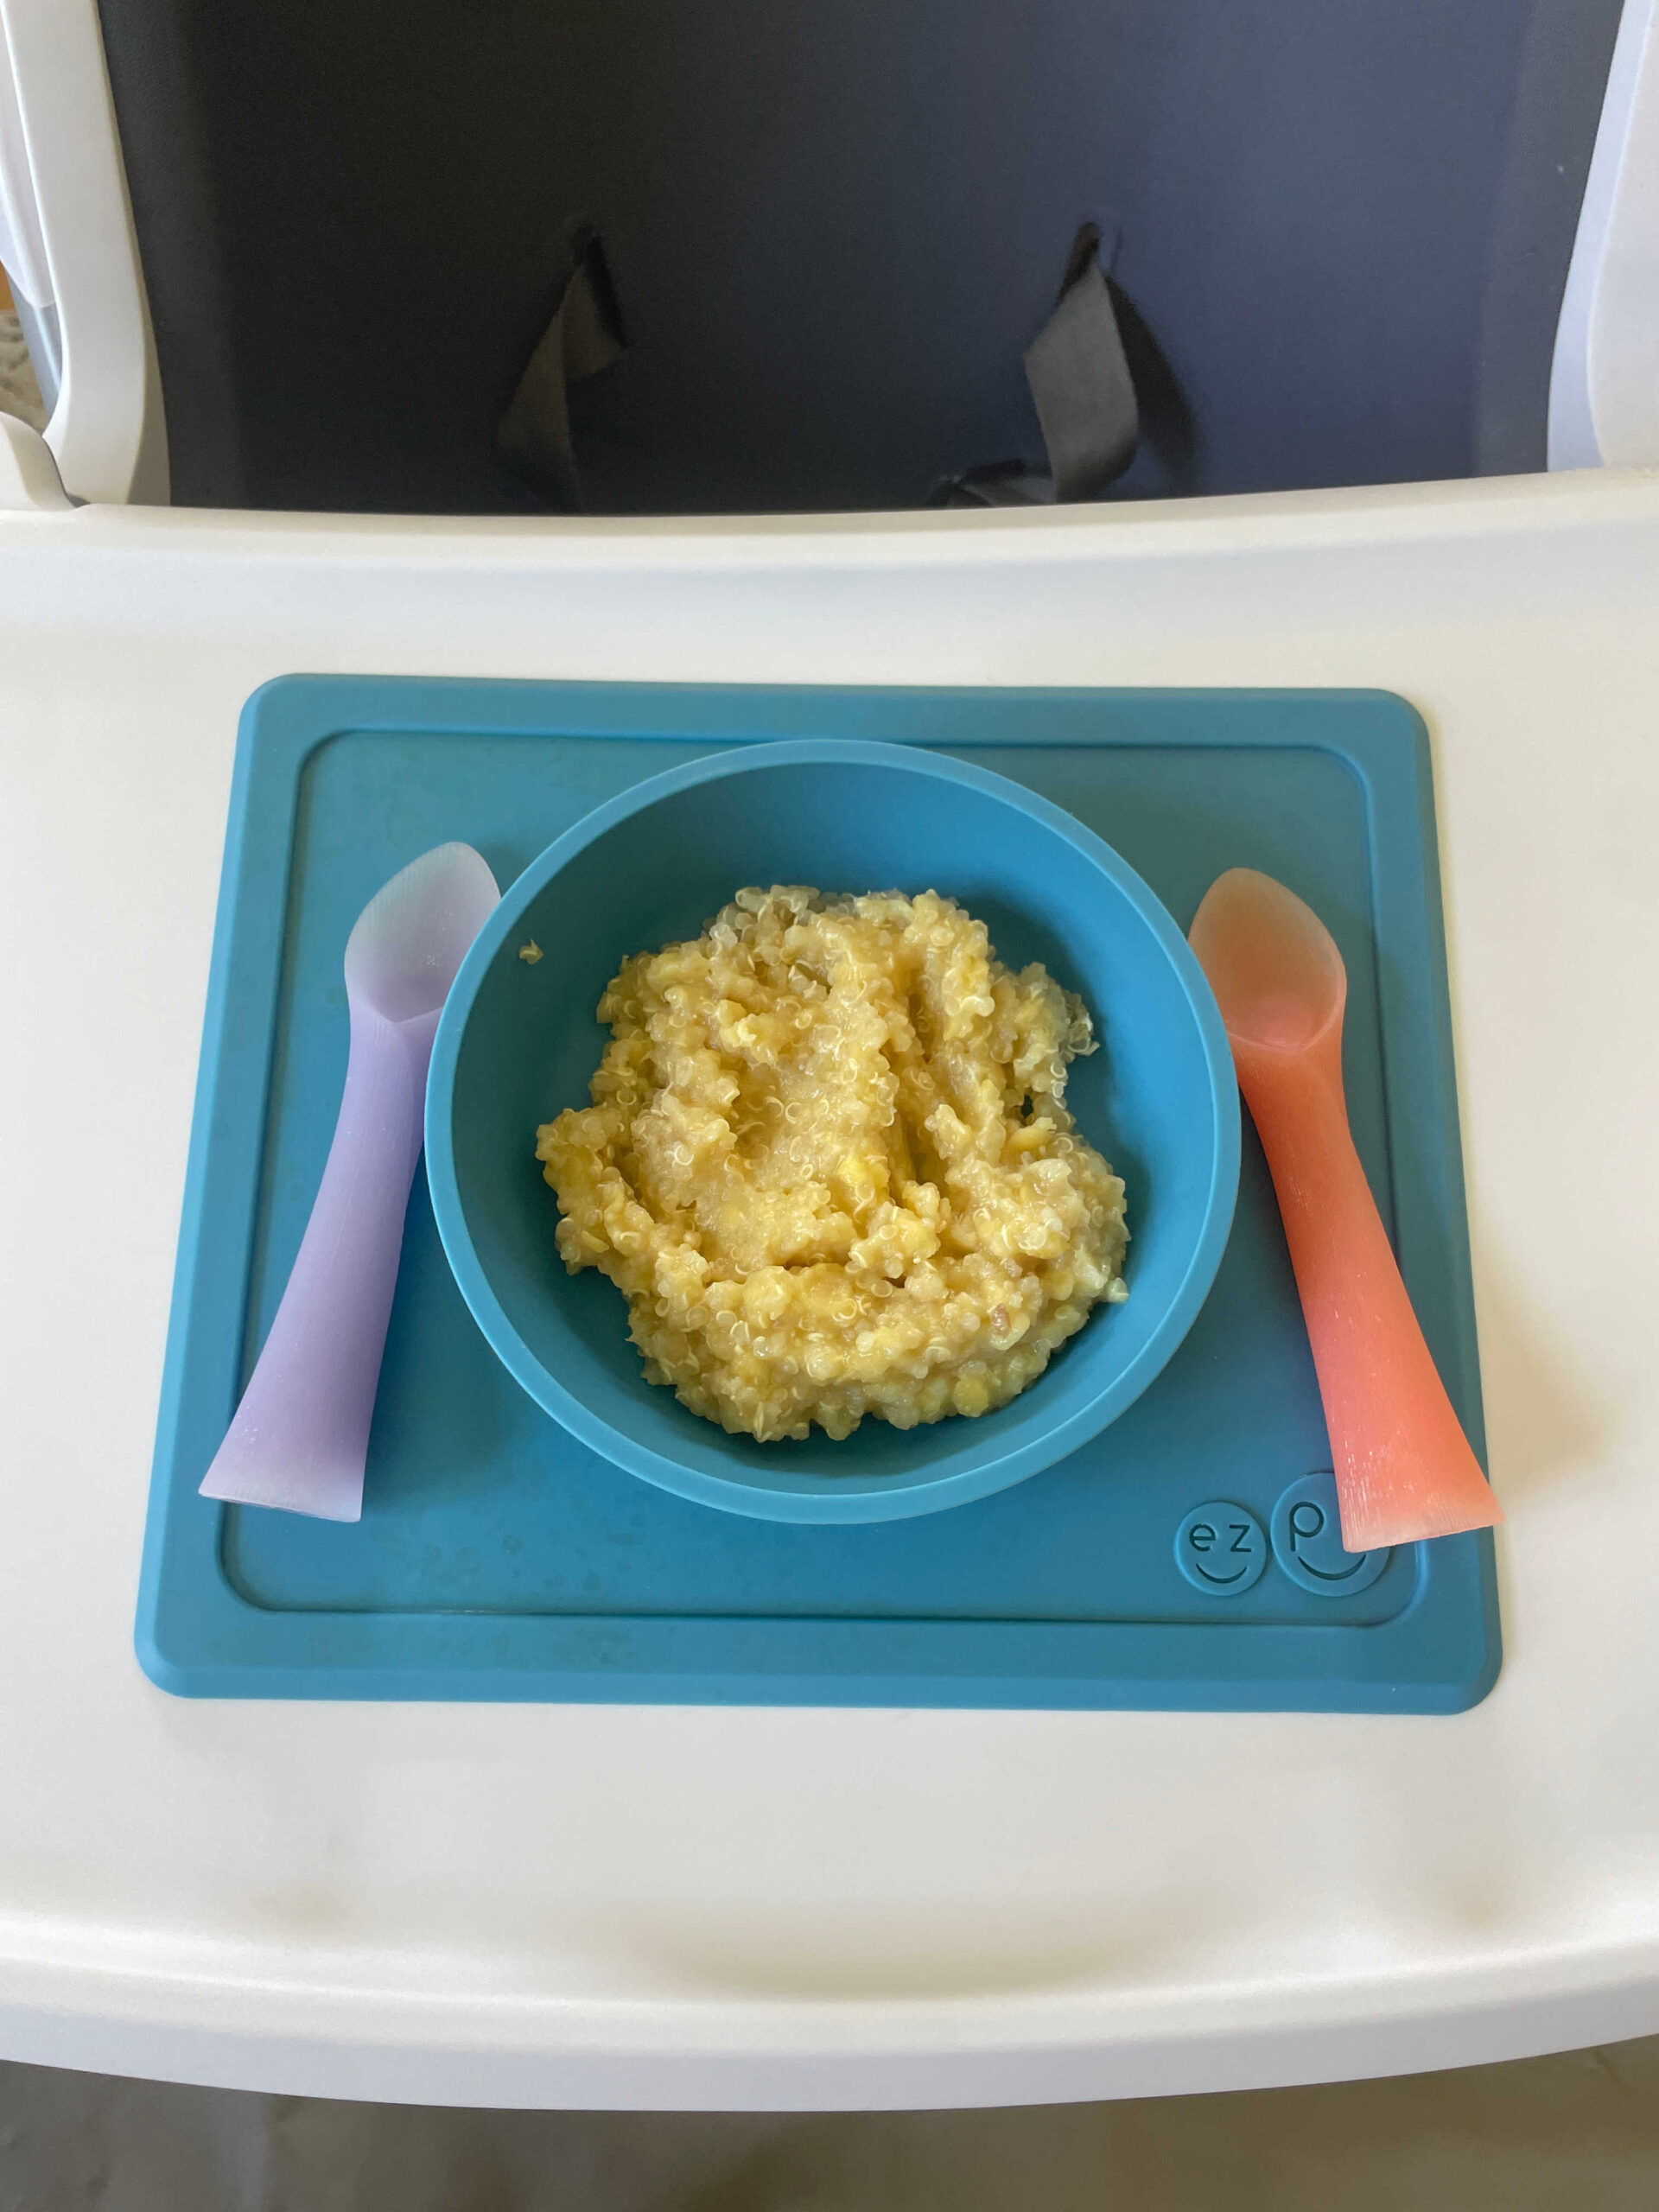
Day 3 – Quinoa Pongal
Ingredients
- 1 tbsp quinoa
- 1 tbsp moong dal
- 1 ½–2 cups water (adjust for desired consistency)
- A pinch of pepper
- 2 flakes of grated ginger
- 1 tsp ghee
Instructions
- In a pressure cooker, dry roast the moong dal until it turns a light golden color.
- Add quinoa, pepper, ginger, and water.
- Cook for 4–5 whistles (or 20–25 minutes on the stovetop).
- Once cooked, mix in the ghee and mash lightly with the back of a spoon.
- Allow it to cool slightly. You can serve it directly in a bowl or shape it into soft rice balls for easy self-feeding.
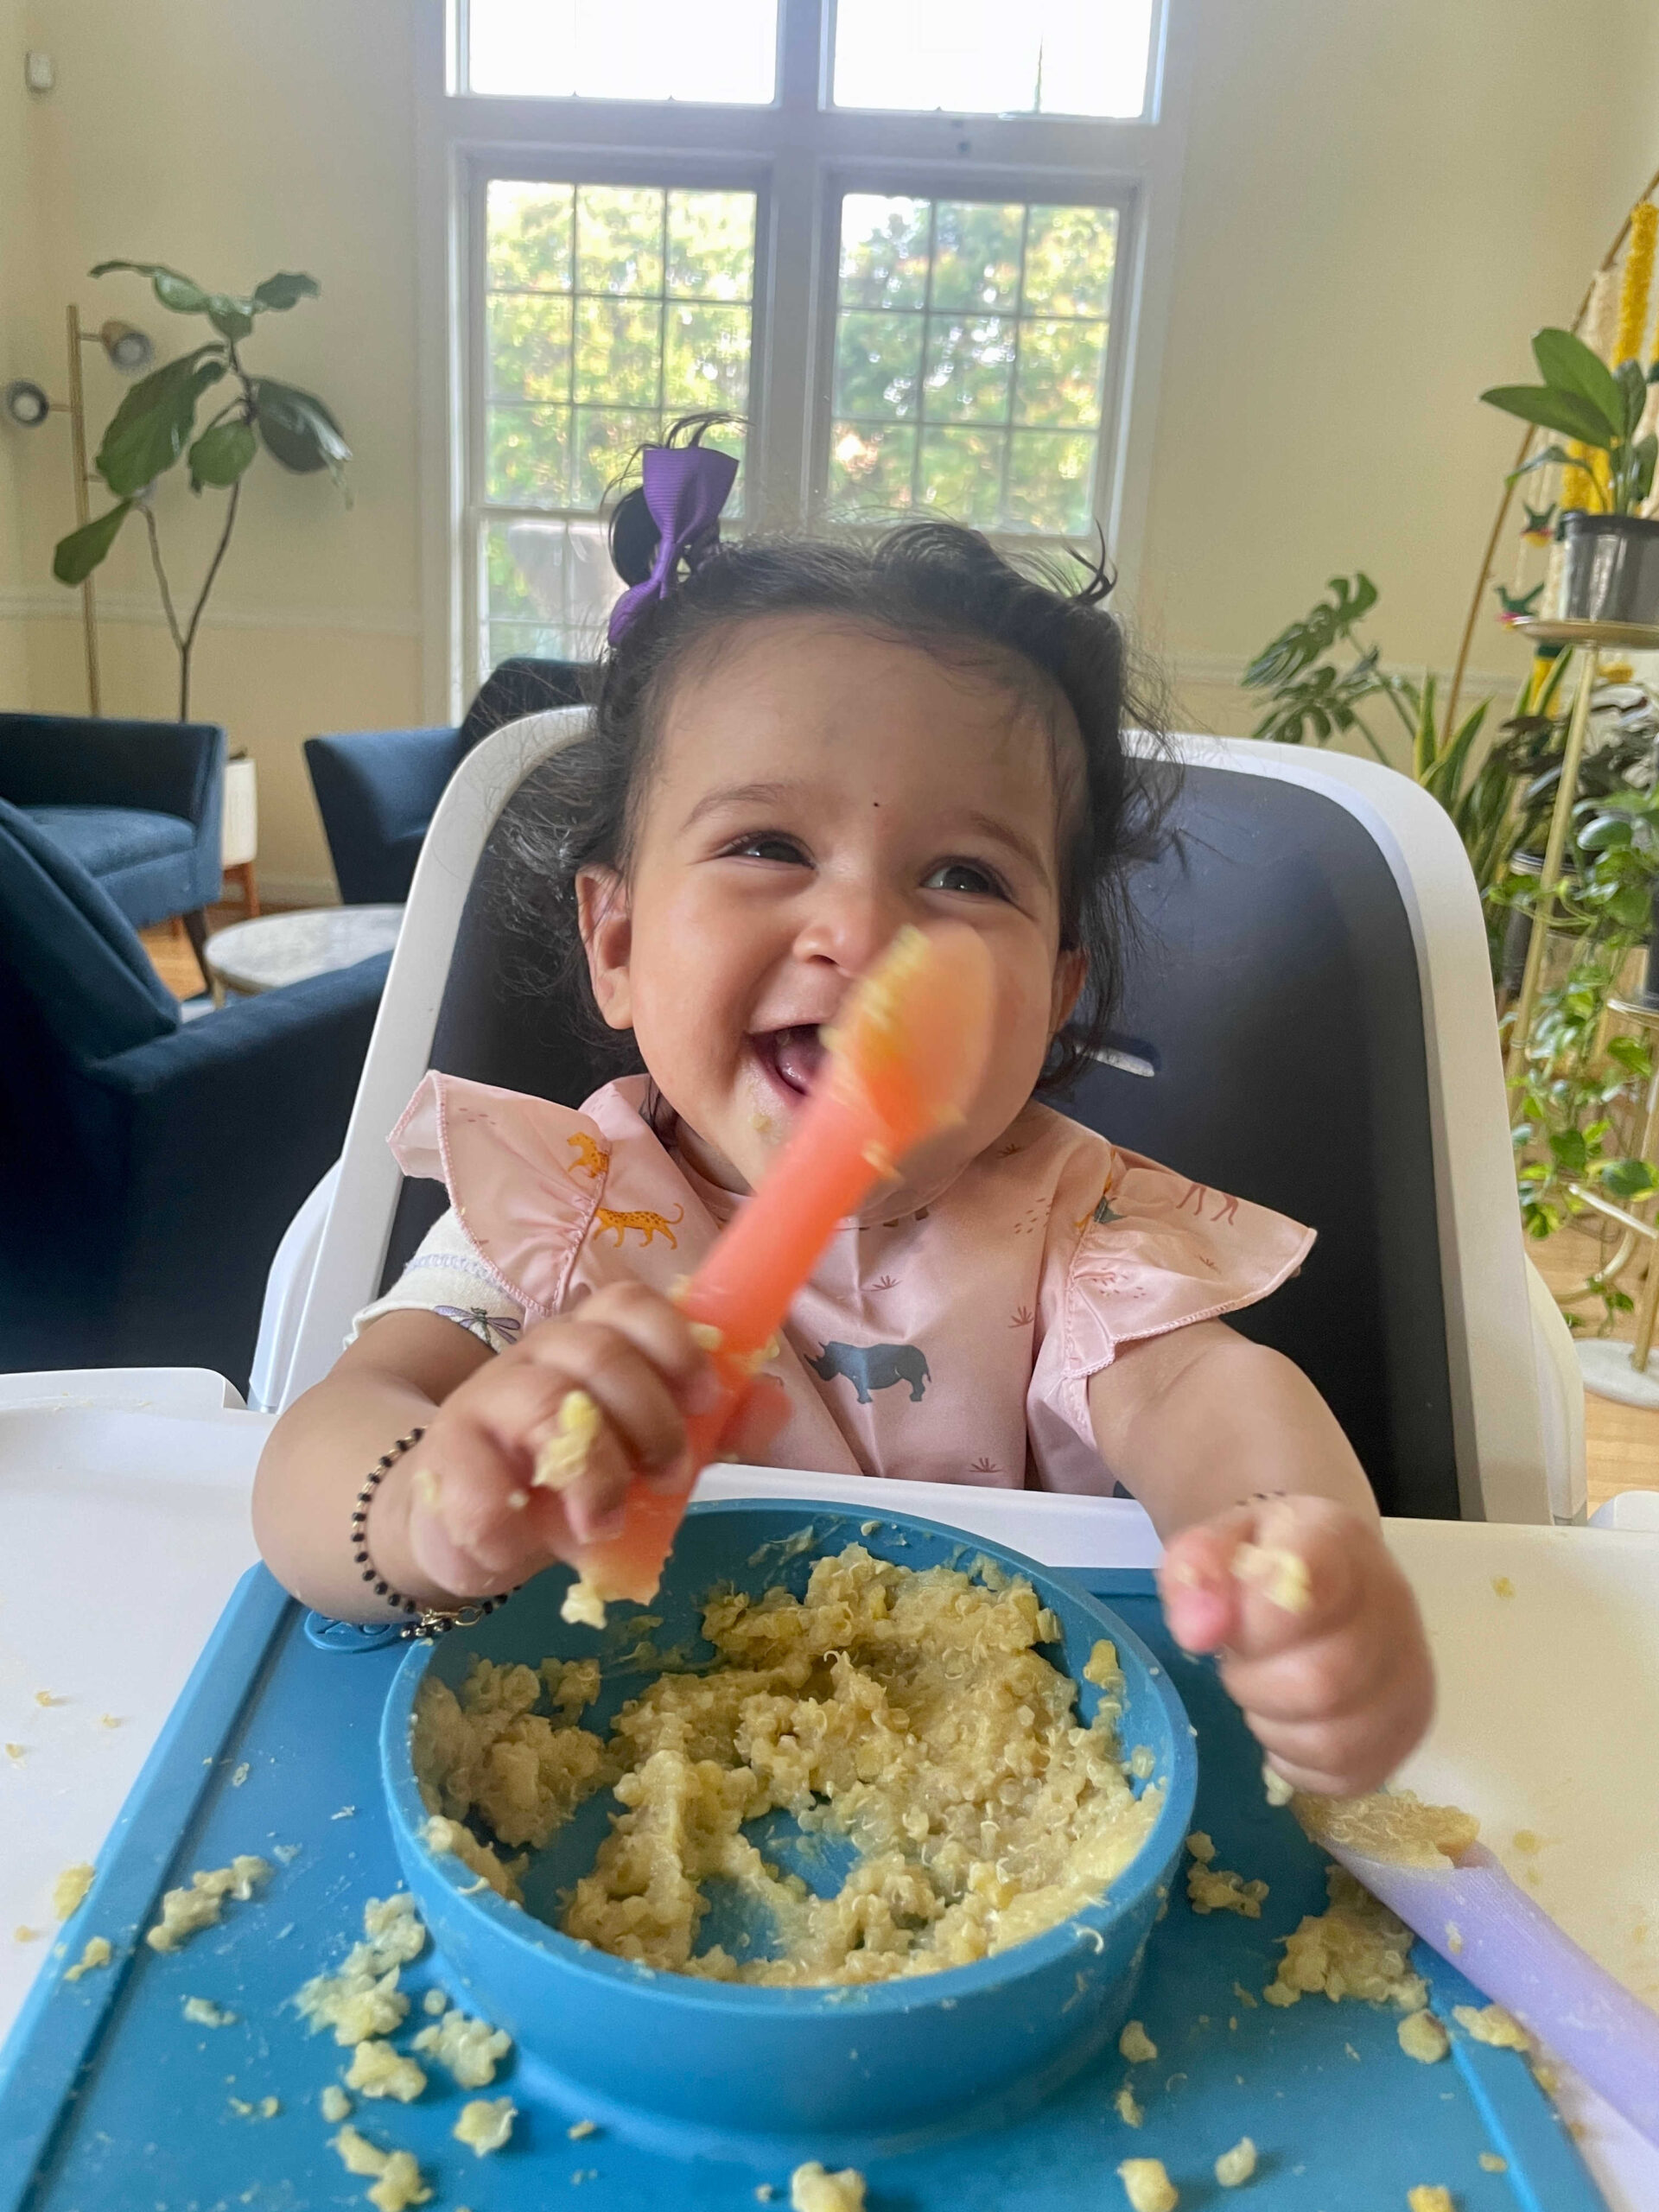
How I Offered It
The first time, I offered the pongal on a preloaded spoon. At seven months, I shaped it into medium-sized balls that were easy for my daughter to pick up and self-feed.
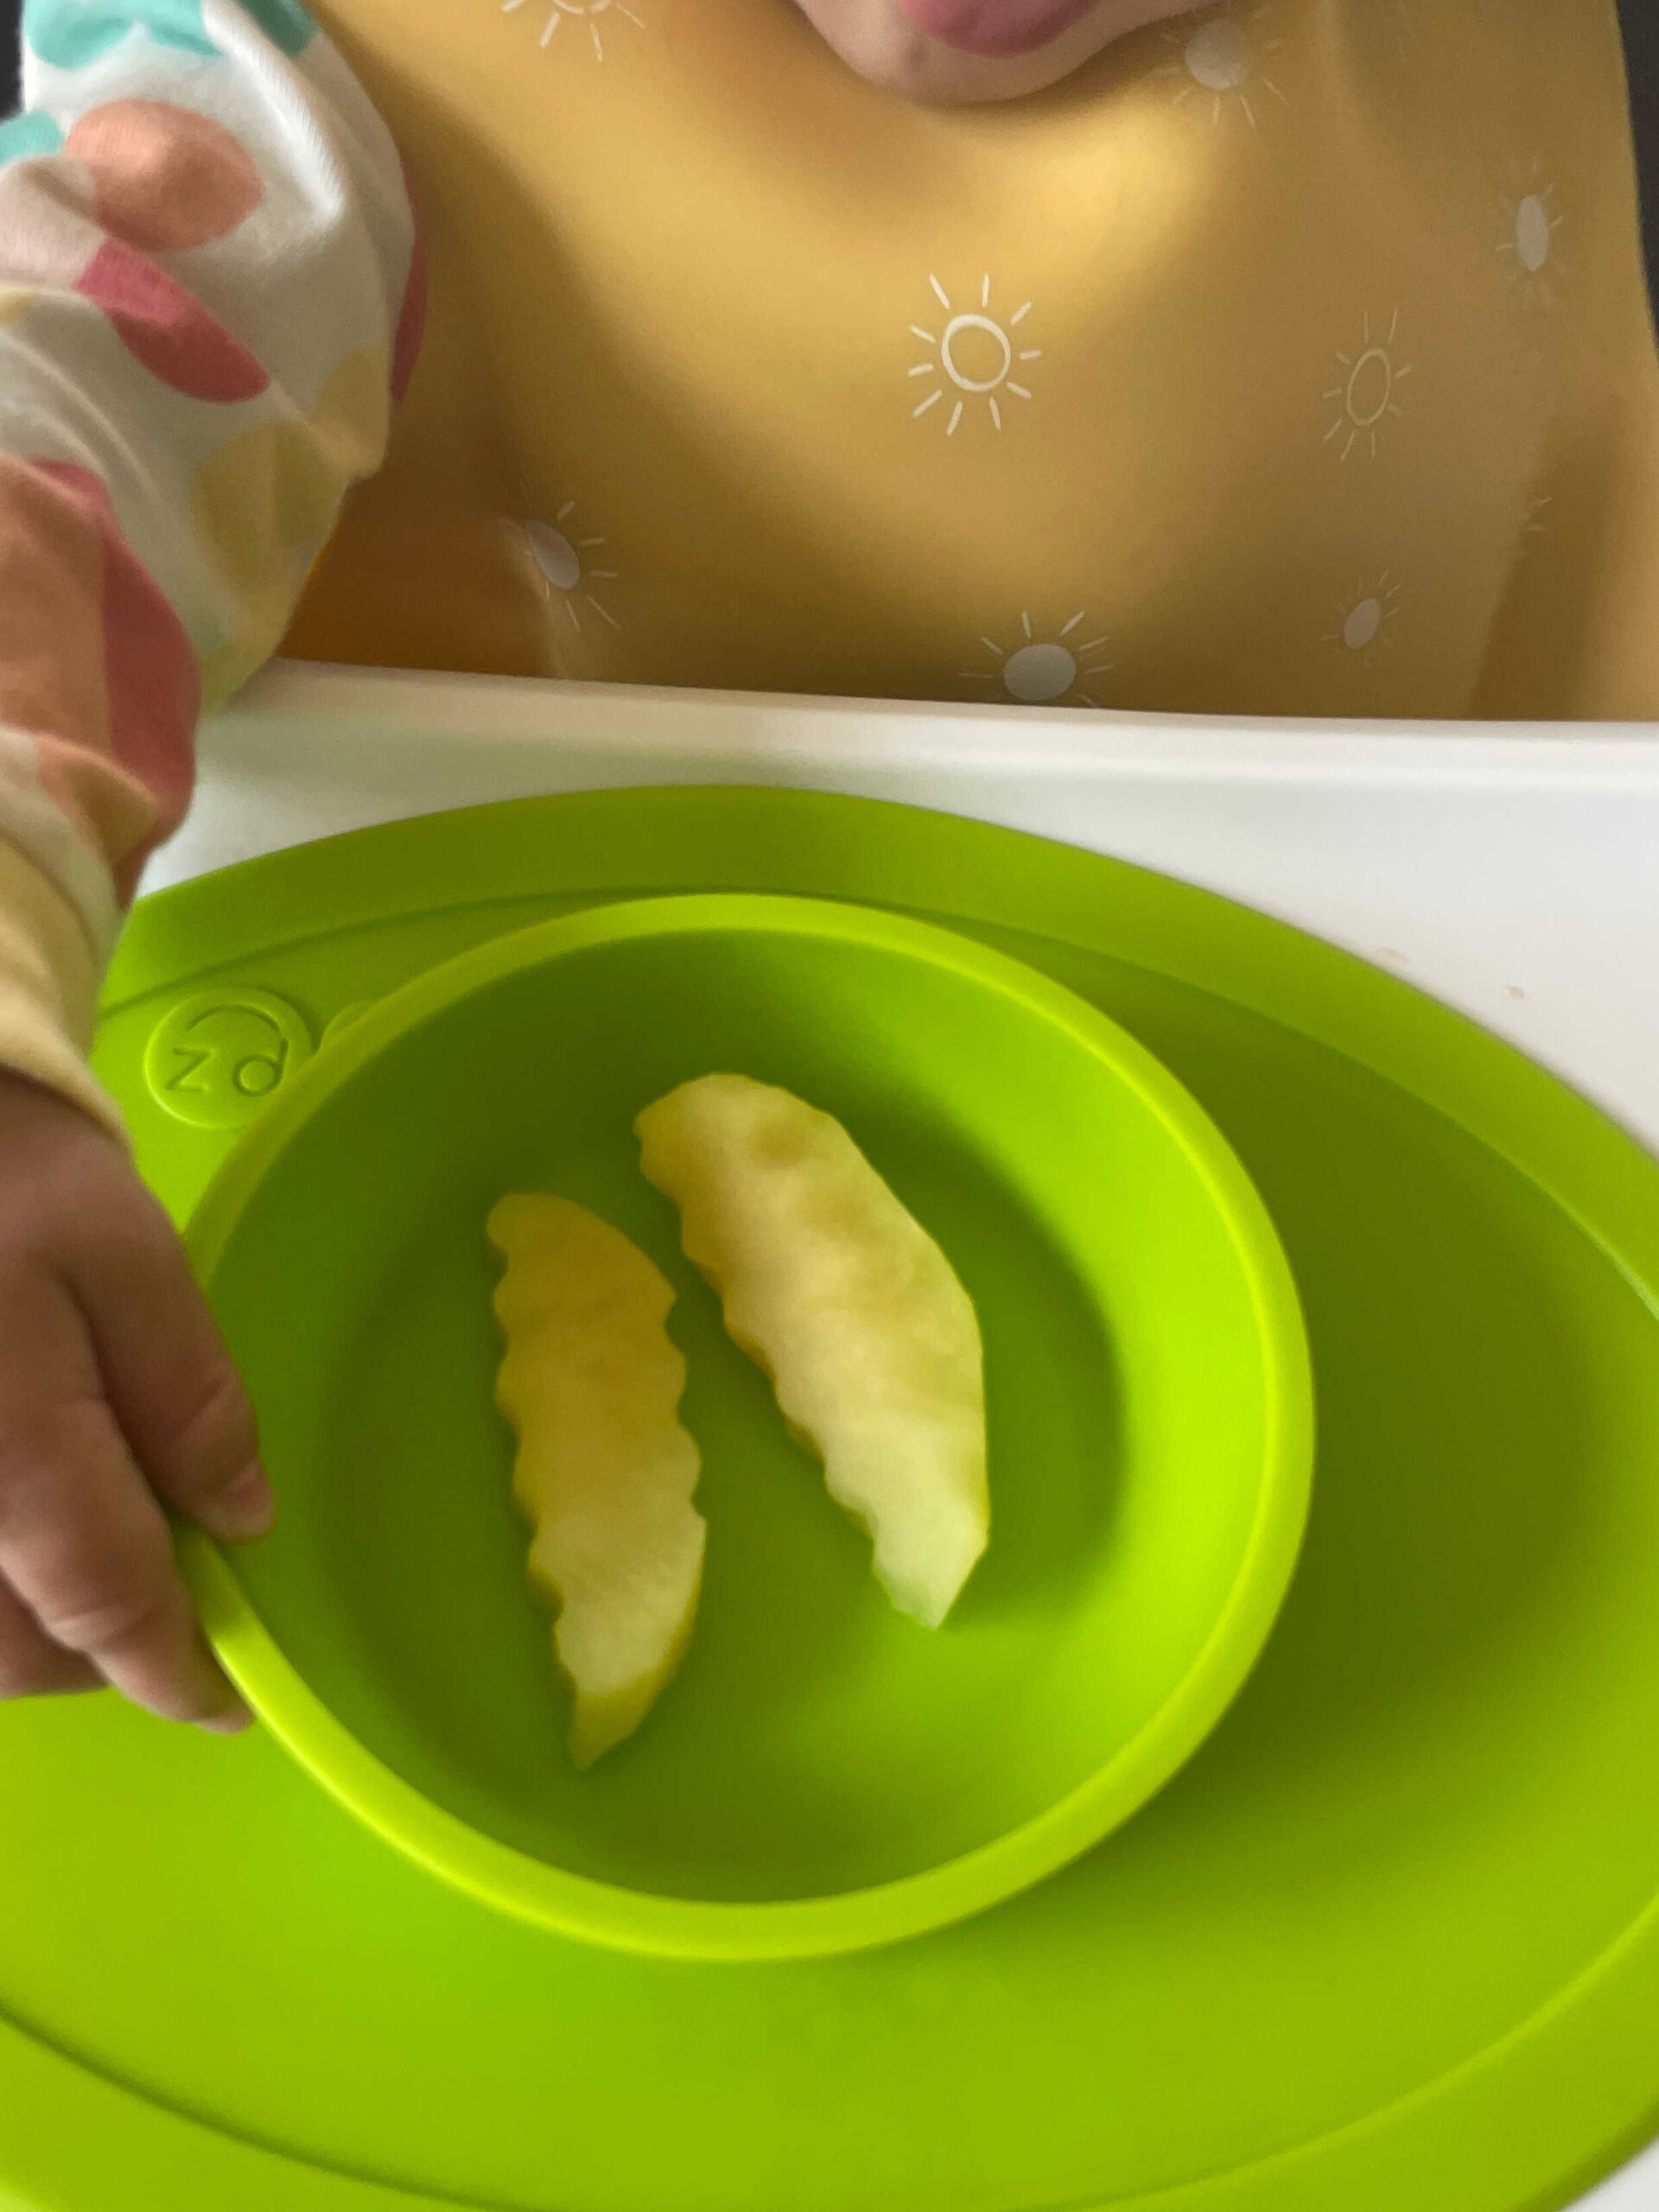
Day 4 – Steamed Apple
Steamed apple is a gentle and nourishing first food for babies, packed with fiber and natural sweetness. Steaming softens the apple, making it easy for little hands to grasp while still holding its shape.
How I Offered It
I peeled the apple, cut it into wedges using a crinkle cutter for a better grip, and steamed it in the Beaba Babycook (making sure it was soft but not mushy). After letting it cool slightly, I offered the wedges to my baby for self-feeding.
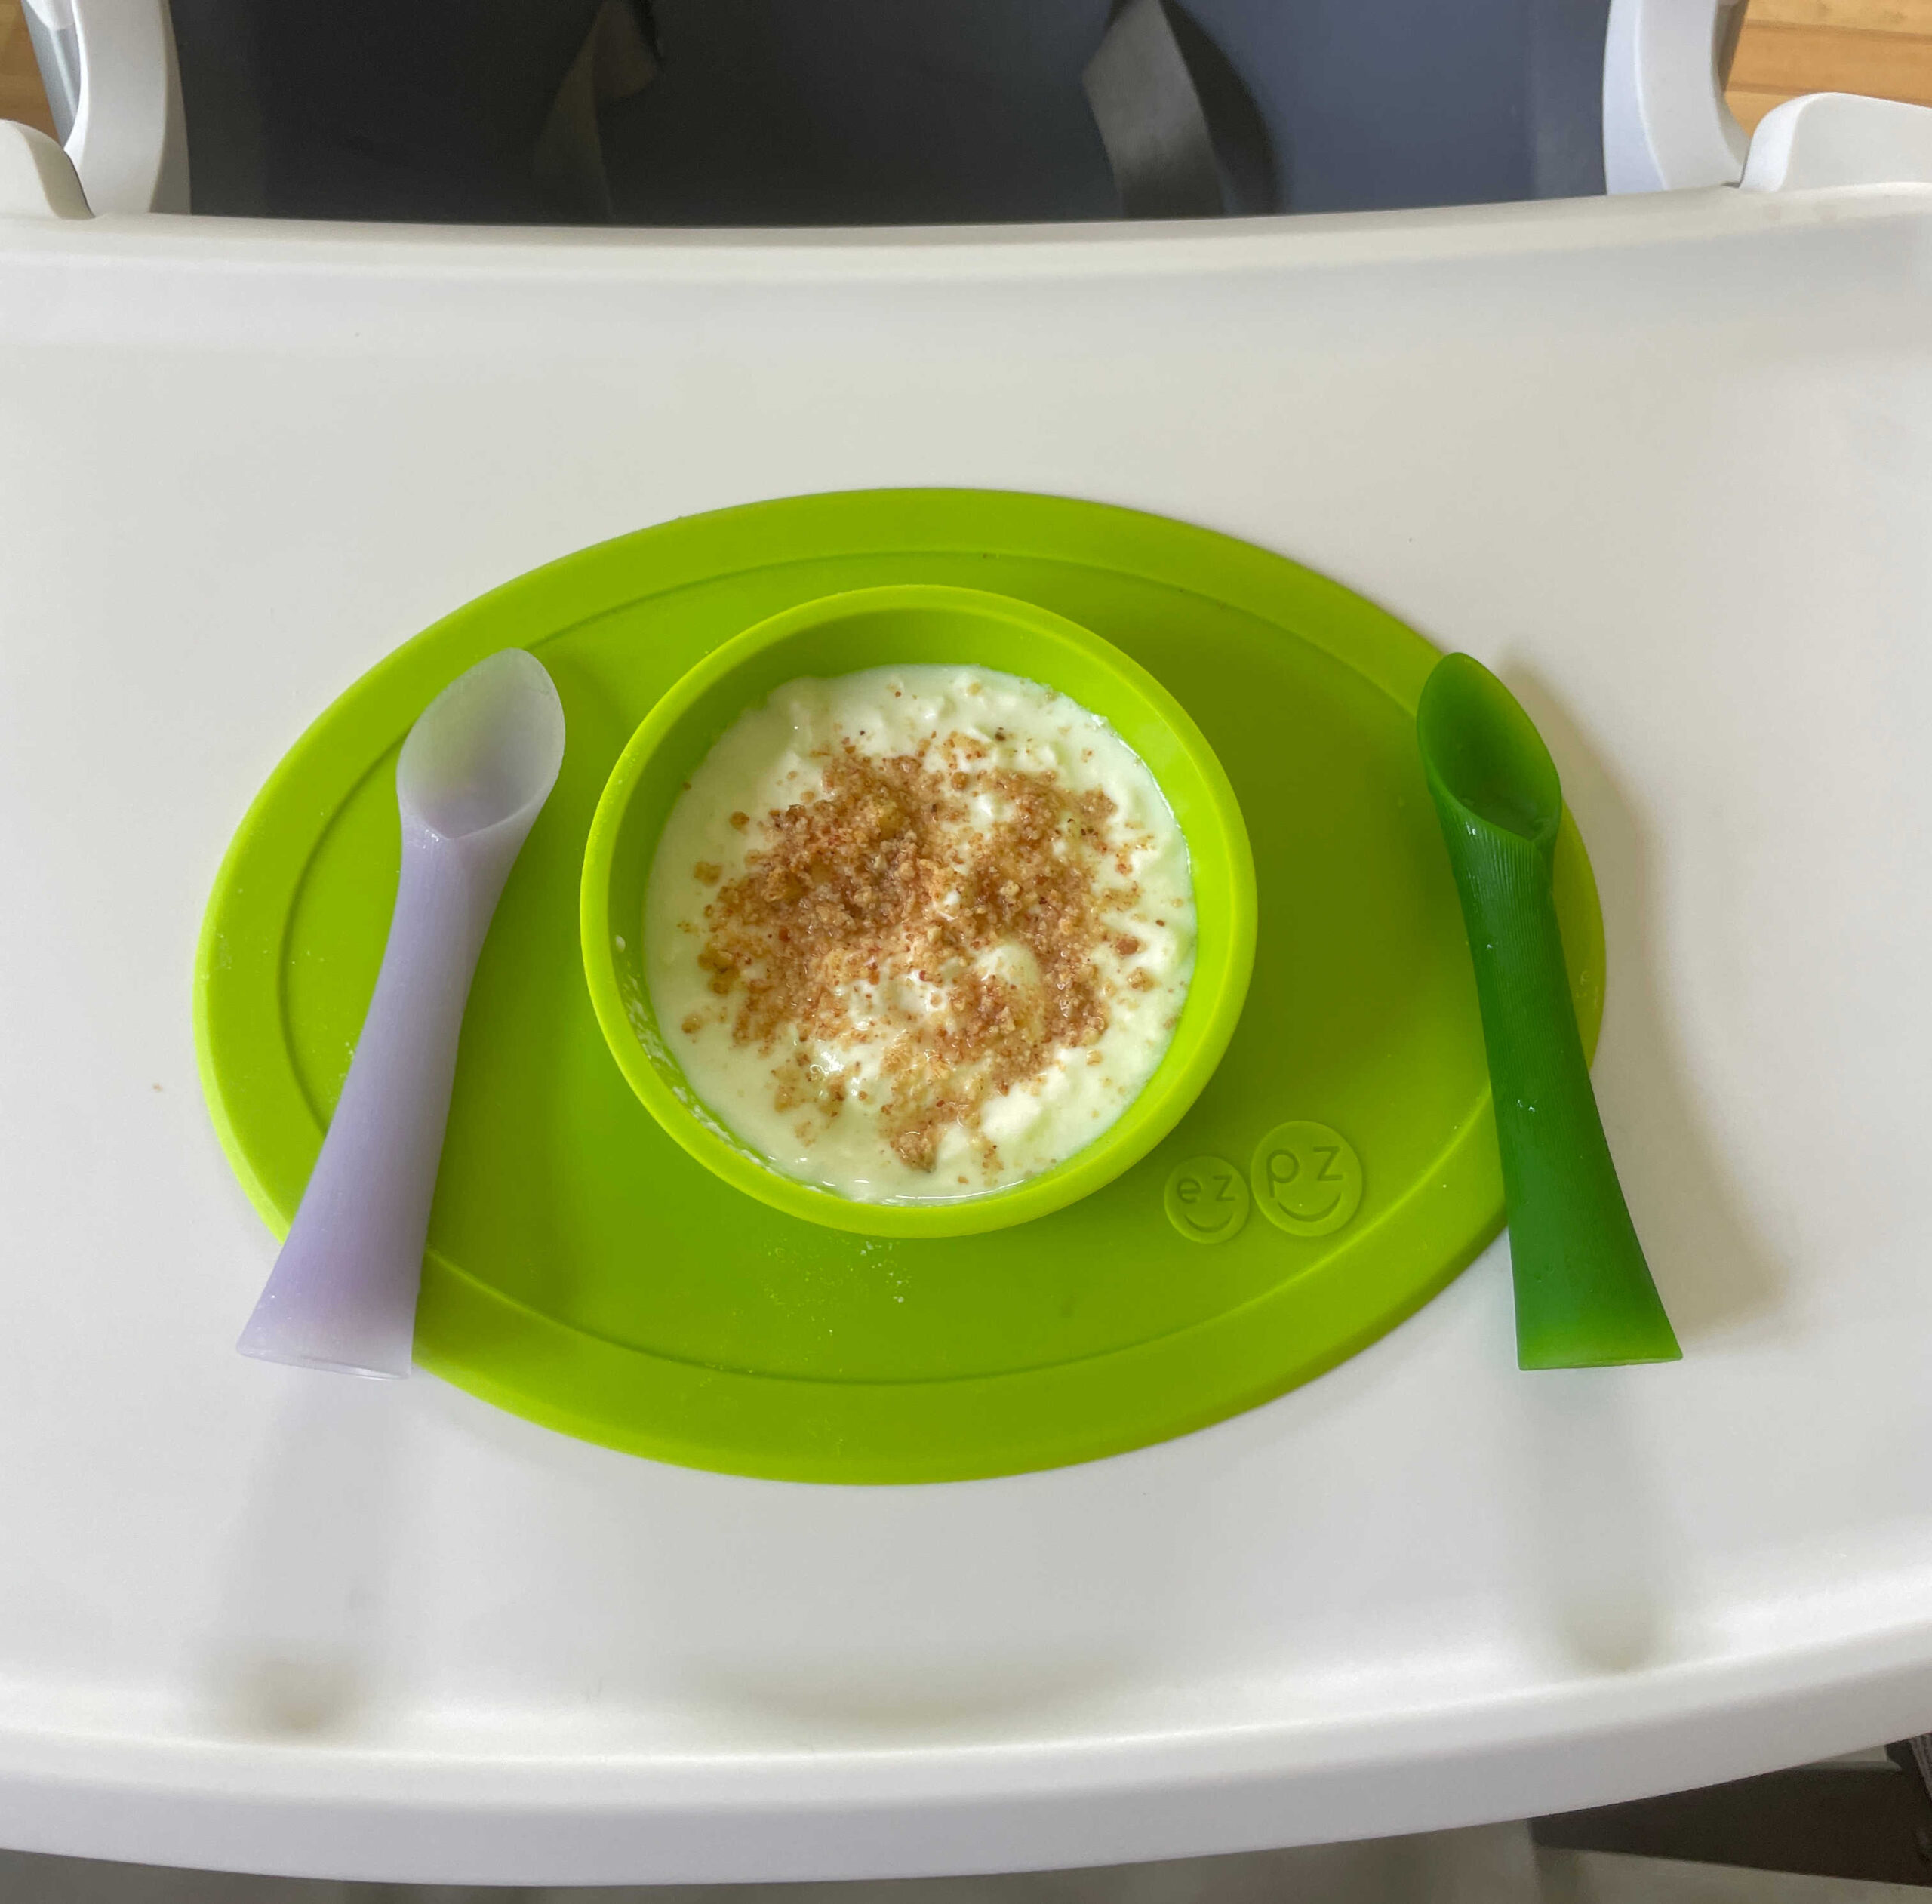
Day 5 – Yogurt with Peanut Powder (Second Allergen)
Yogurt is one of my favorite first foods to introduce because it’s creamy, gentle on the tummy, and rich in protein and calcium. Adding a small amount of peanut powder provides healthy fats and helps babies safely get familiar with common allergens.
Homemade Peanut Powder Recipe for Babies
Ingredients:
- 1 cup unsalted peanuts (you can use unsalted roasted peanuts too)
Instructions:
- If using raw peanuts, dry roast them in a pan until lightly golden. Let them cool completely.
- Add the cooled peanuts to a blender or food processor.
- Grind in small batches, stopping frequently to scrape down the sides. Be careful not to over-grind, as the peanuts can quickly turn into peanut butter.
- Blend until you get a powdery consistency.
- Store the peanut powder in an airtight container in a cool, dry place for up to 2–3 weeks.
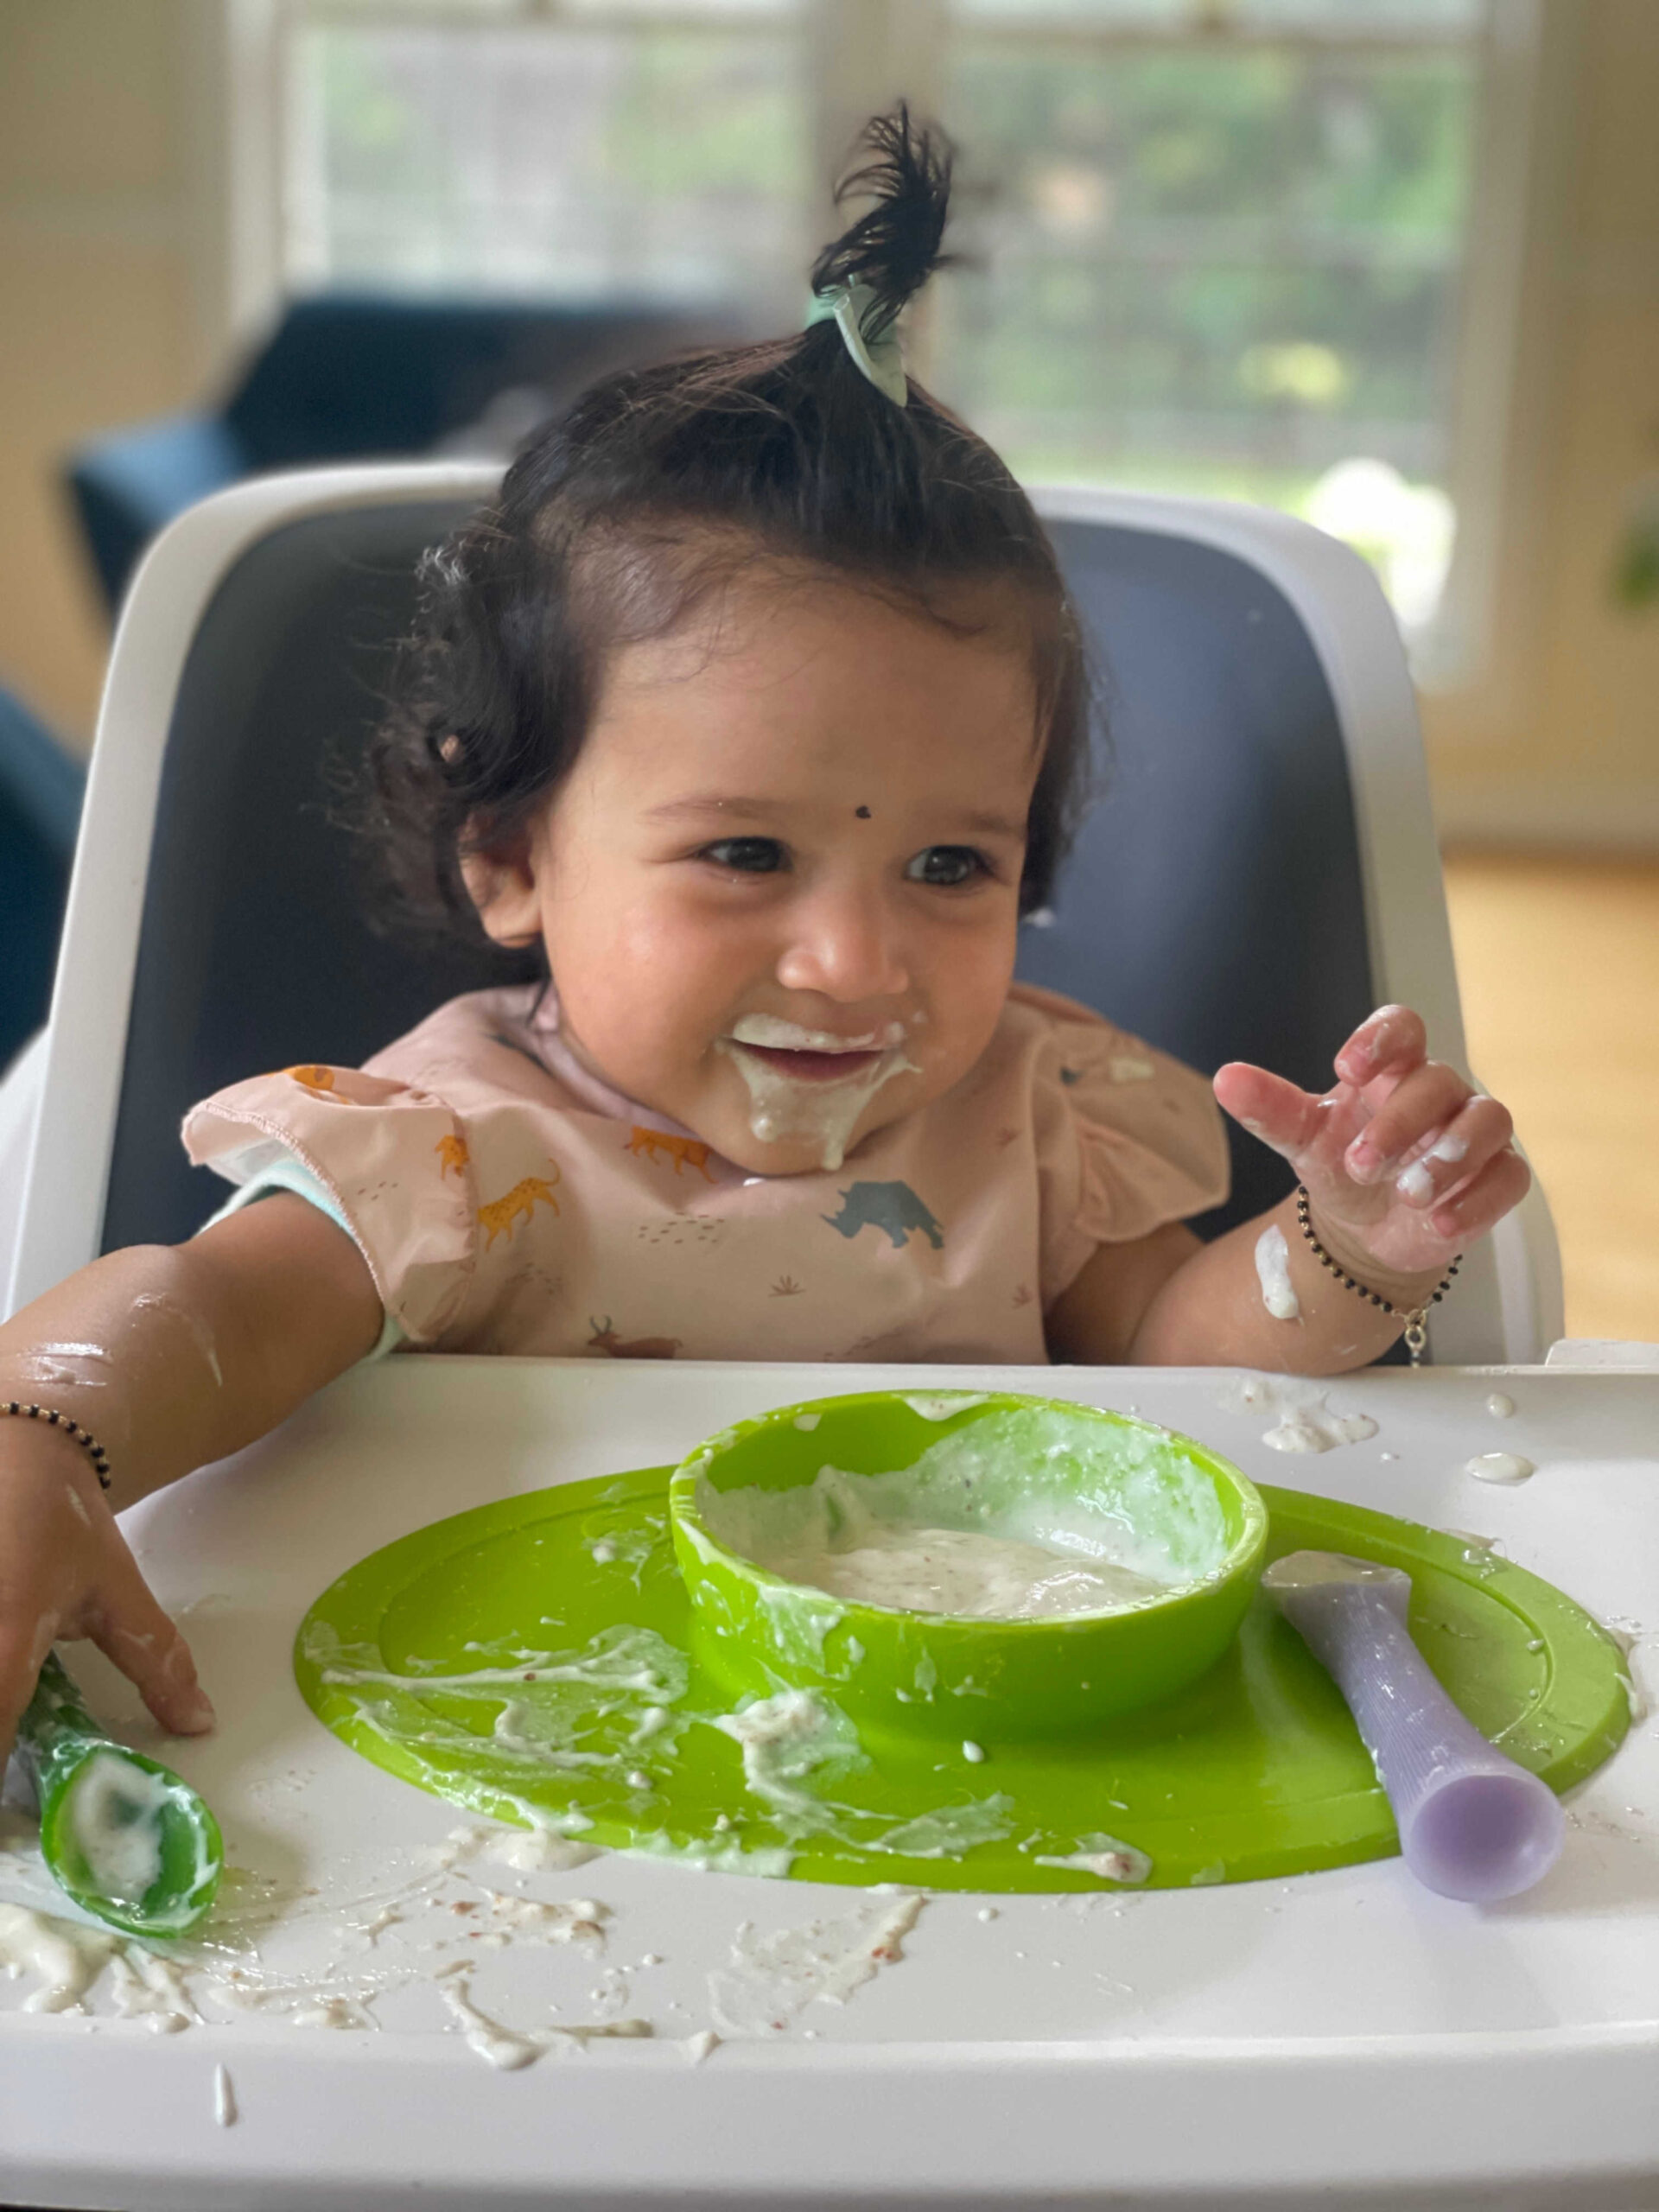
How I Offered It
I mixed a small amount of peanut powder (you can also use unsalted peanut butter; I used powder as it mixes well with the yogurt) into yogurt. At first, I served it in a bowl to see if she would scoop it with her hands, but when she didn’t, I pre-loaded a spoon and handed it to her for self-feeding.
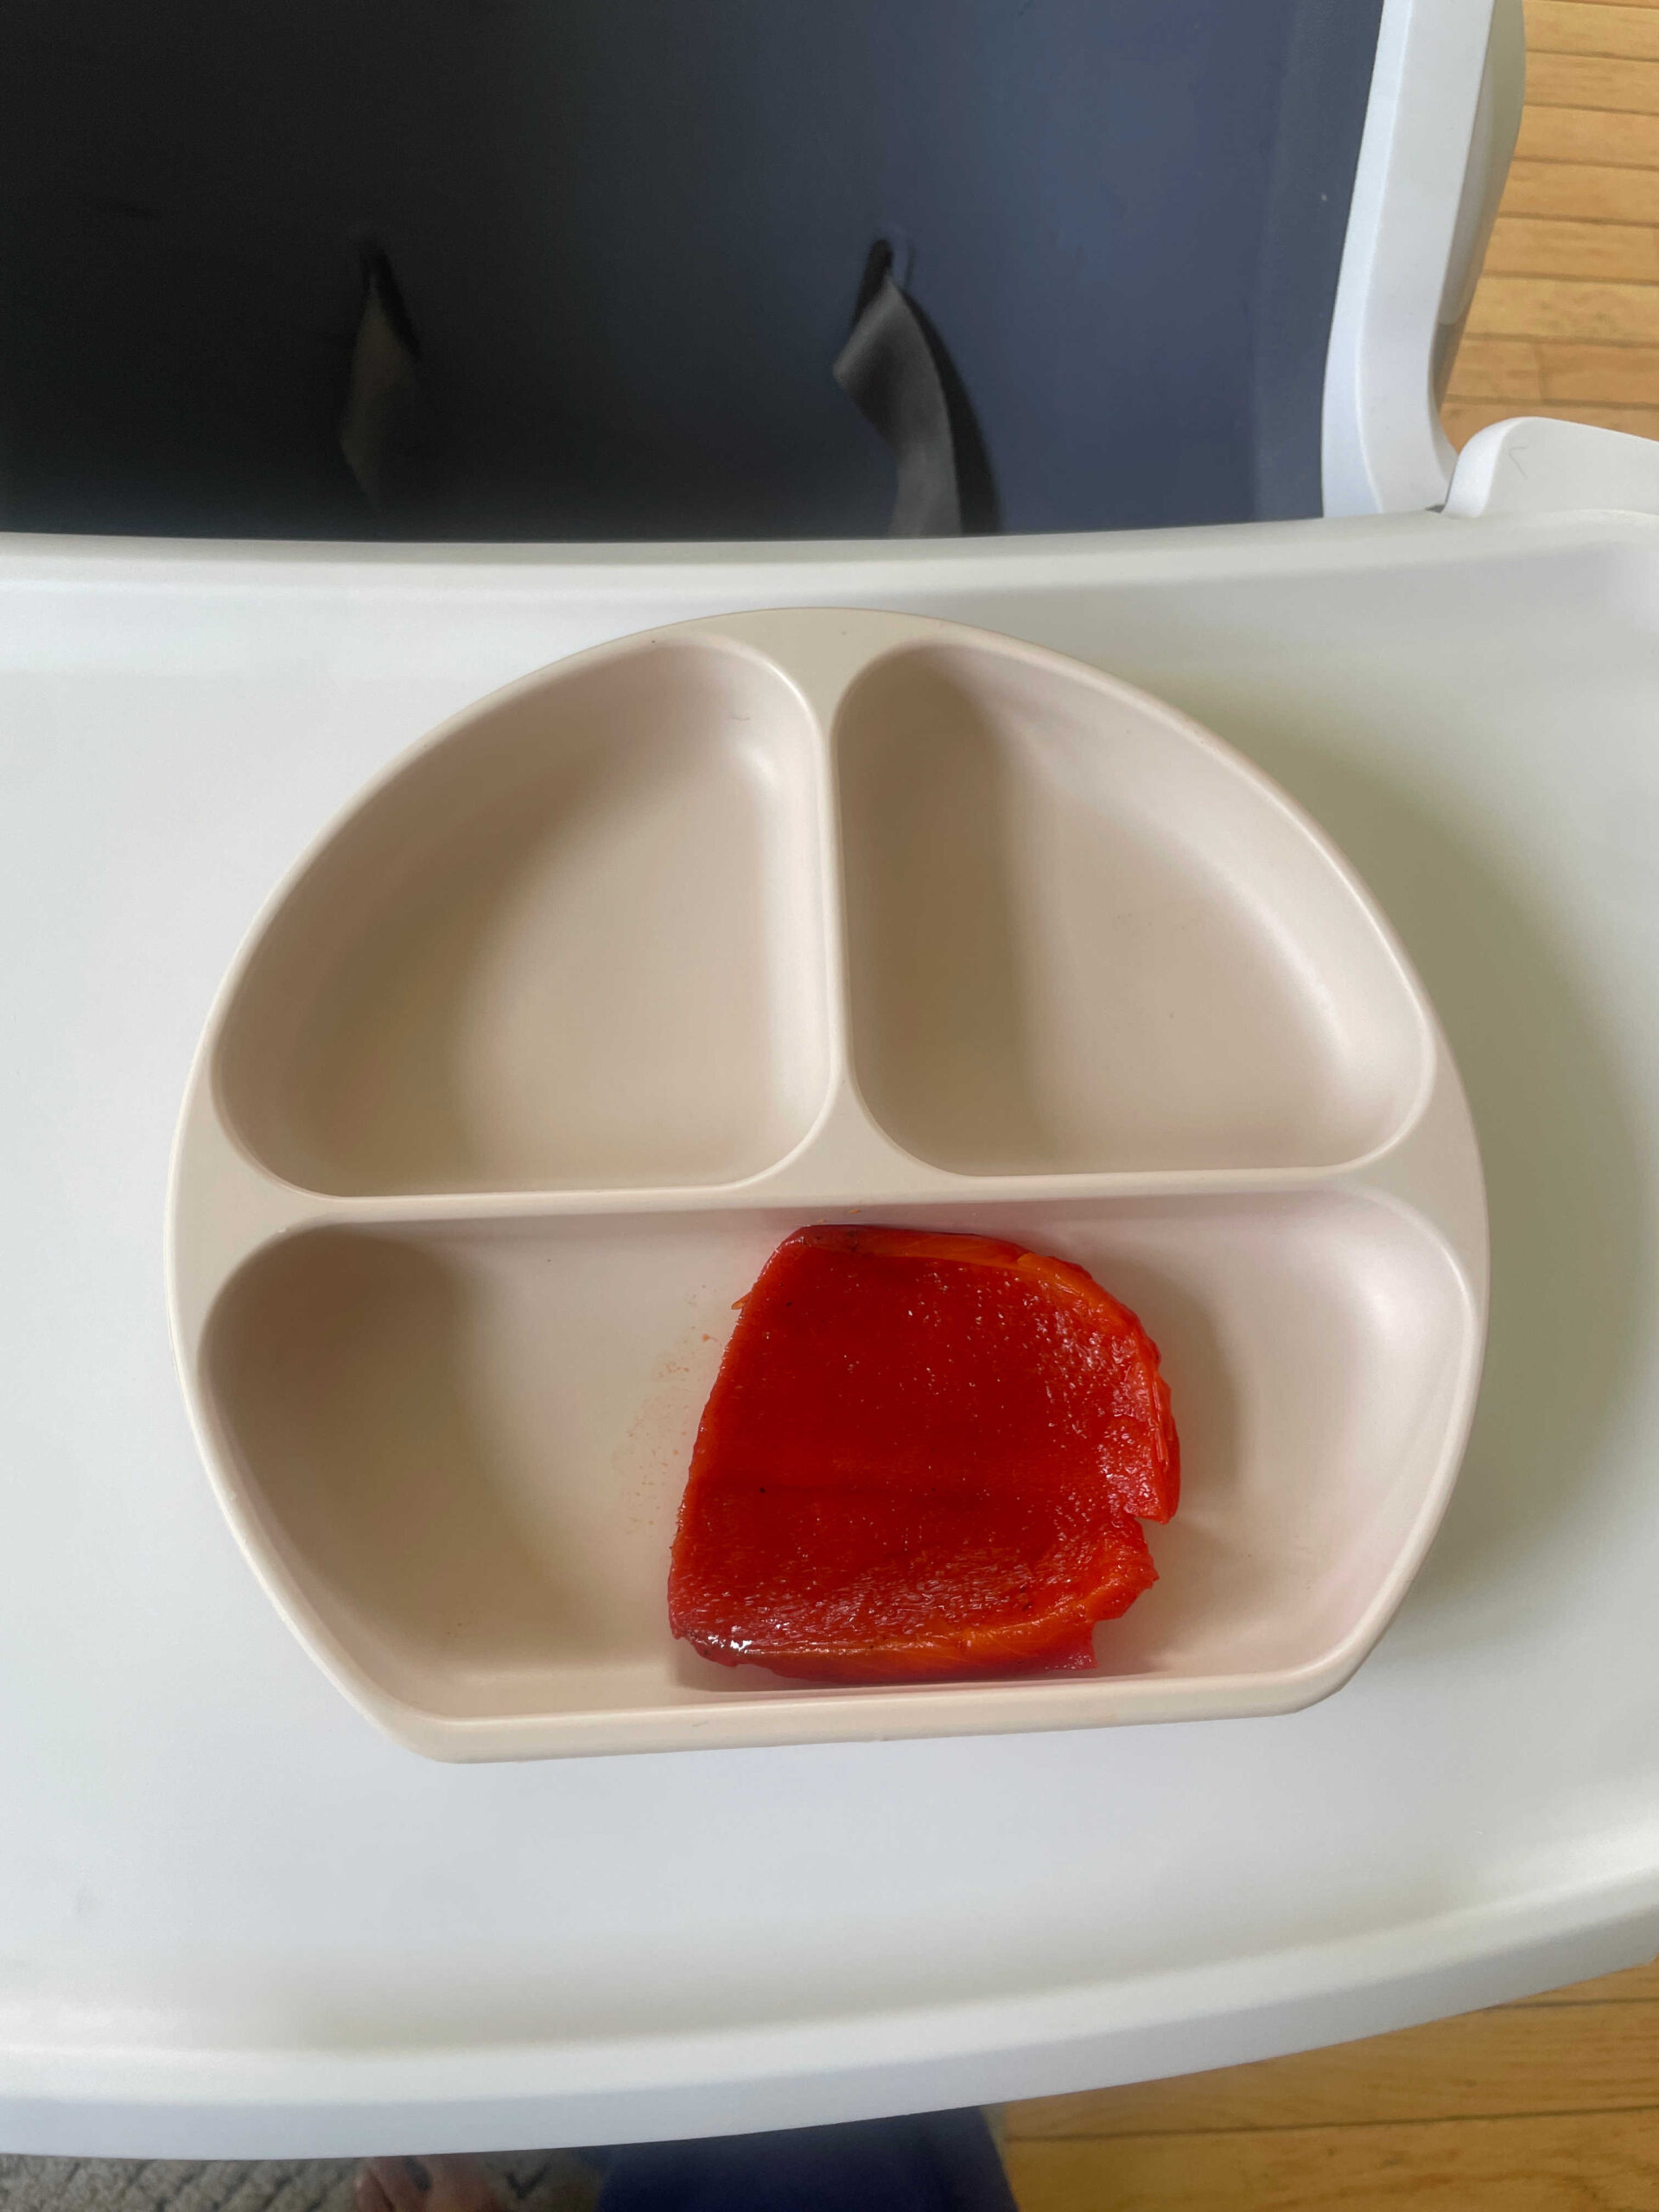
Day 6 – Roasted Red Bell Pepper
Bell peppers are rich in vitamin C and fiber. They come in a variety of colors—red, yellow, orange, and green—each with a slightly different flavor profile. Red bell peppers, in particular, are sweeter and packed with more nutrients since they are fully ripened.
How I Offered It
I prepared the bell pepper by cutting it in half and removing the seeds. I lightly greased the pan with avocado oil, placed the half pepper in it, and covered it with a lid to let it cook evenly on both sides over a low flame. To check if it’s done, you can poke it with a fork or knife—it should slide in easily. Once roasted, I placed the hot pepper in a closed container (like a Pyrex box) for a few minutes. This helps loosen the skin, making it very easy to peel off before serving.
After peeling and letting it cool, I offered it to my daughter. She absolutely loved it—this quickly became one of the foods she truly enjoyed eating!
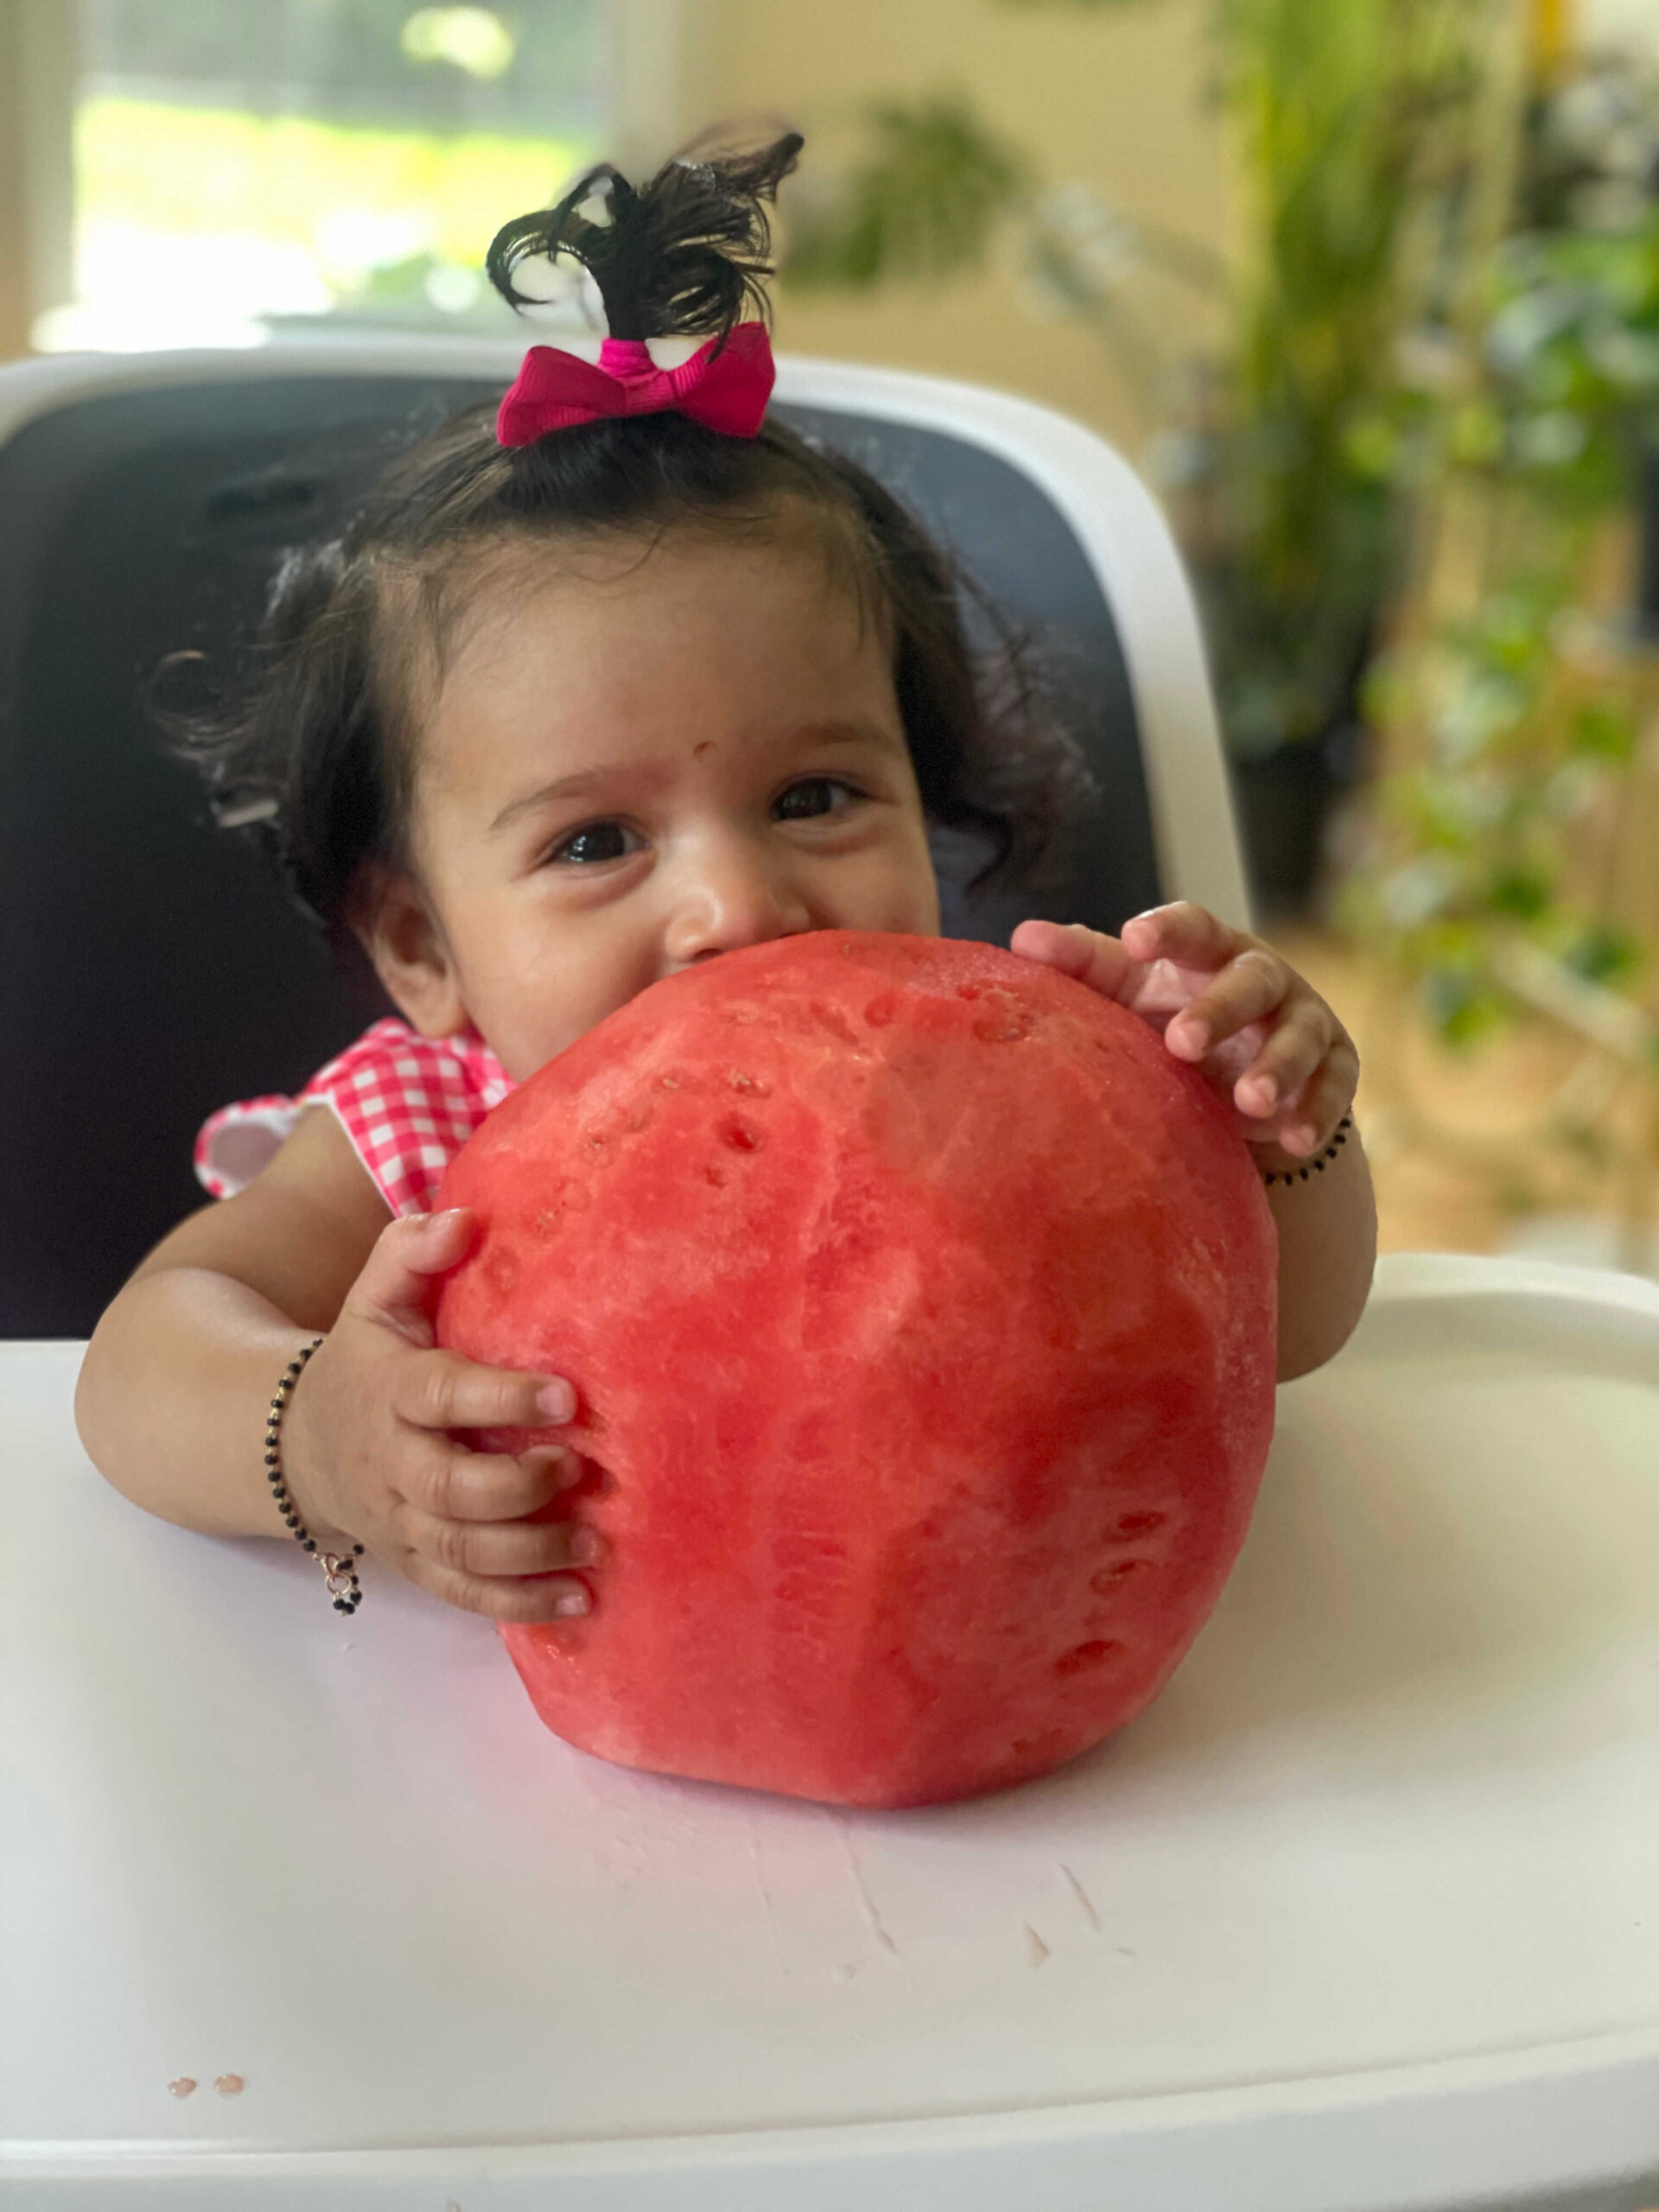
Day 7 – Watermelon
Watermelon is such a refreshing seasonal fruit to introduce in warmer months. It’s juicy and easy for little hands to grasp and eat. We celebrated my daughter’s 6th month a week late with this watermelon cake. Rajesh cut a round slab of watermelon, trimmed it into the shape of a small cake, and you can decorate it with other fruits like blueberries and strawberries for a colorful touch. I loved that she could be part of the little celebration and enjoy a special treat too.

How I offered it
I cut the watermelon into thin, finger-length strips so it was easy for my daughter to hold and eat. She loved exploring the juicy texture, and it’s one of her favorite foods to enjoy.
That’s a wrap for Week 2! Stay tuned for Week 3 meal ideas coming next week!


0 Comments